
If you treasure your jewelry collection as much as I do, giving it a dedicated storage solution is essential. Let’s explore some inventive DIY jewelry box ideas that combine creativity with practicality, helping you keep your precious items beautifully organized.
Transforming a Wooden Wine Crate into a Stylish Jewelry Organizer
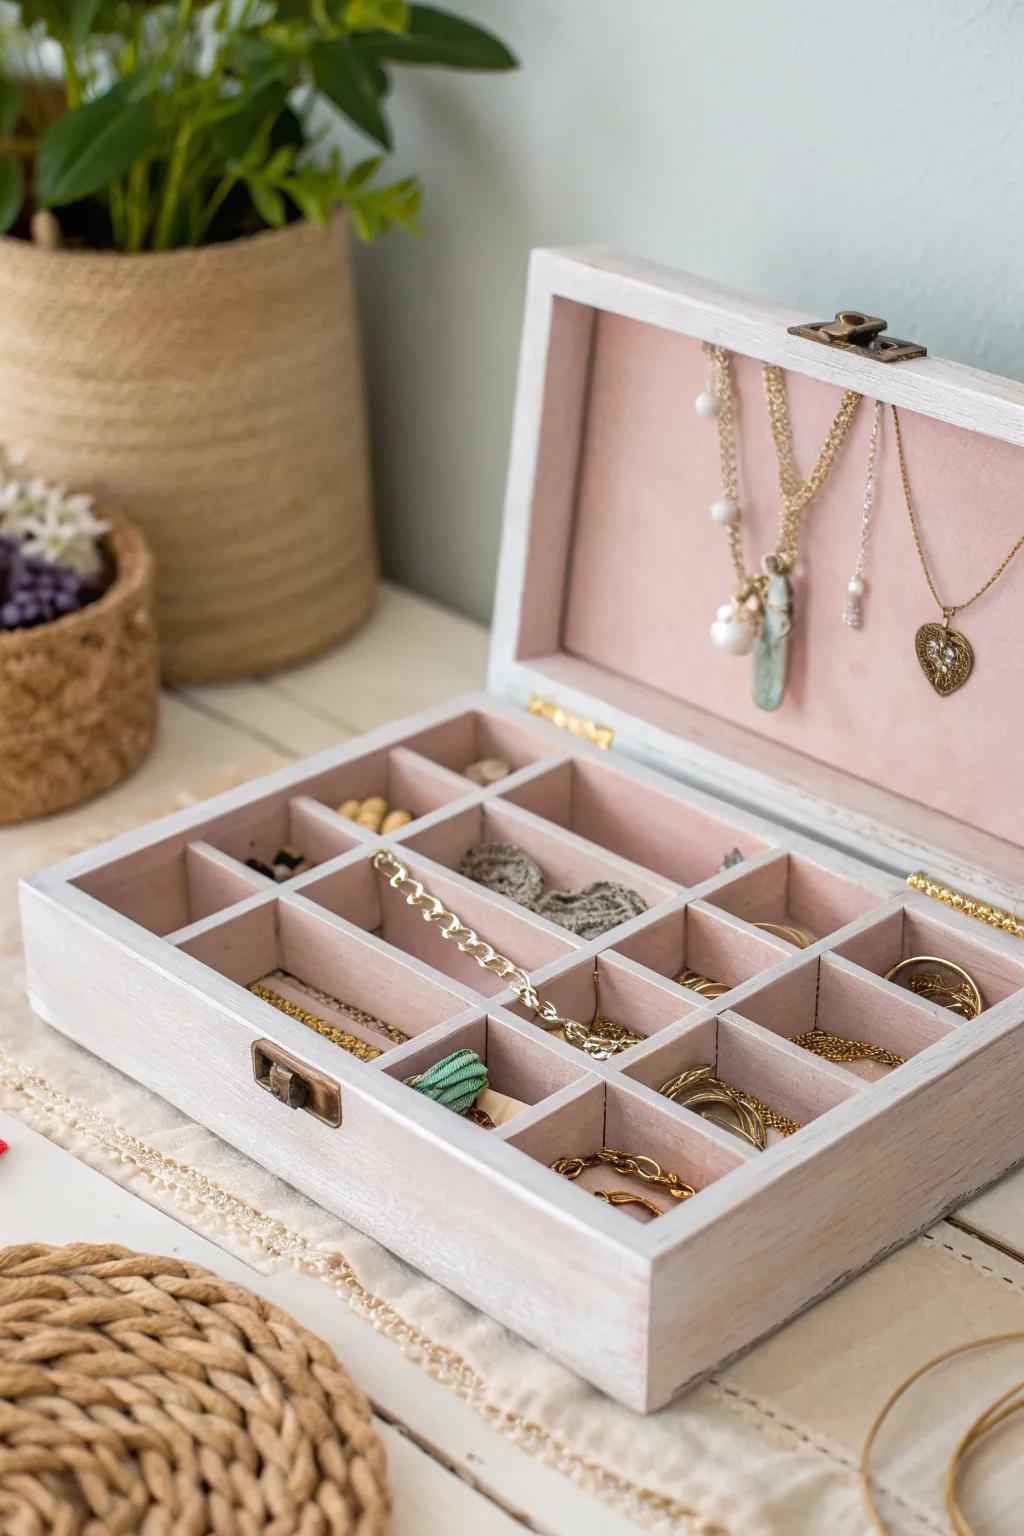
Repurpose an old wine crate by painting it in your favorite shade and installing adjustable dividers to keep your jewelry sorted. This method is especially great for bulky pieces like statement necklaces or chunky bracelets.
Recommended supplies:
- Adjustable Wooden Box Dividers: Customize your compartments effortlessly for neat storage.
- Chalk Paint for Crafting: Refresh your box with a matte, vintage-inspired finish.
- Soft Jewelry Box Lining Fabric: Protect delicate pieces with plush, cushioned fabric.
Retro Charm: Converting a Vintage Tin into a Jewelry Holder
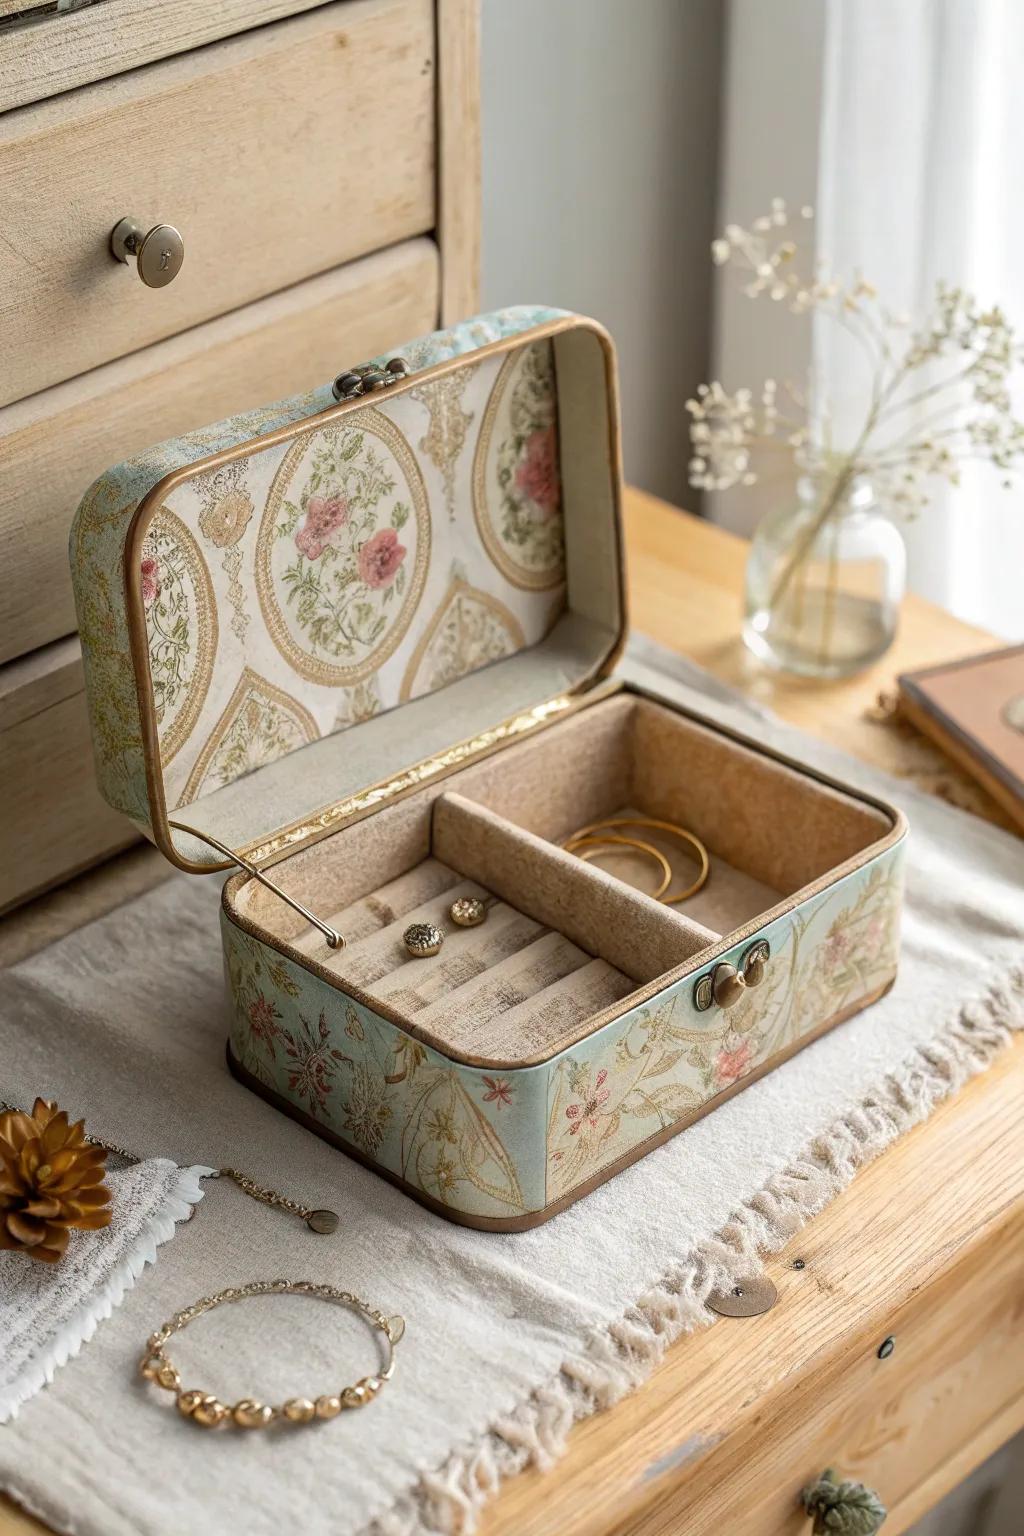
Give new life to an old tin by lining it with soft felt inserts, creating a protective and stylish home for your jewelry. This approach brings a retro vibe that complements both modern and classic decor.
Helpful items to consider:
- Decorative Felt Inserts: Cushion your jewelry with soft, tailored felt pieces.
- Vintage Style Decorative Tins: Select tins with charming patterns to enhance your space.
- Mini Jewelry Display Stands: Organize and showcase your favorite pieces inside the tin.
Space-Saving Magnetic Wall-Mounted Jewelry Box
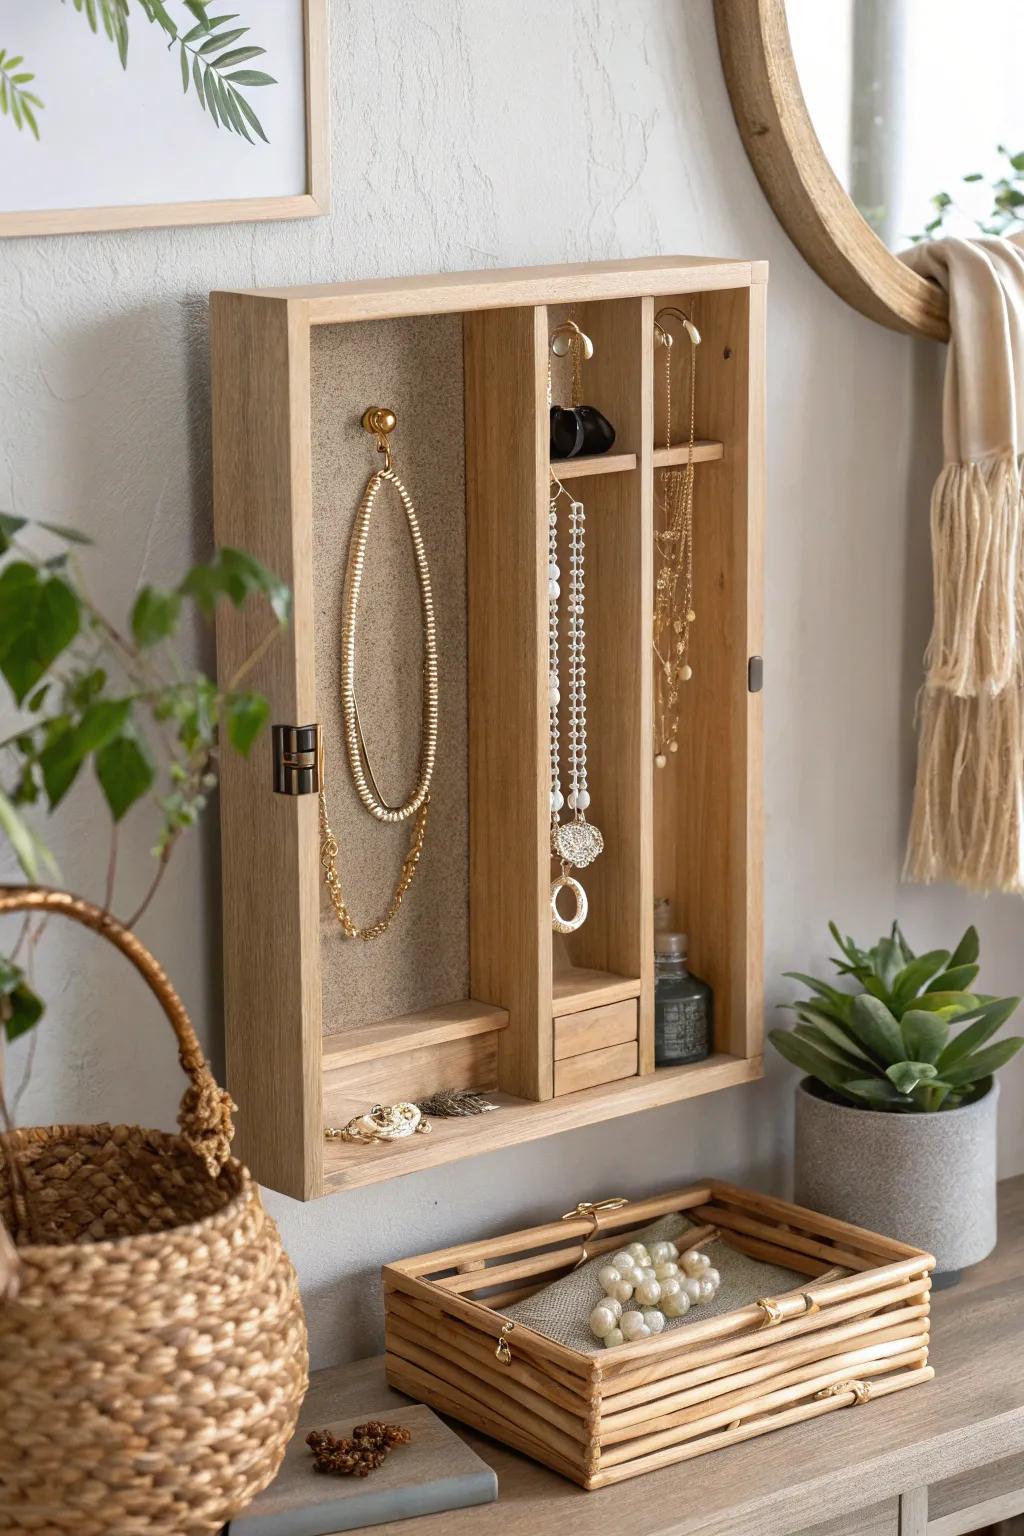
Mount a jewelry box on your wall using magnetic closures for a modern, clutter-free storage solution. This design not only saves space but also adds a contemporary flair to your room.
Essential components:
- Magnetic Cabinet Latch: Secure your box with reliable magnetic closures.
- Wood Stain for DIY Projects: Add rich tones and protect your wood surfaces.
- Wall Mounting Hardware Kit: Ensure sturdy and safe installation on your walls.
Multi-Tiered Drawer Jewelry Box for Ultimate Organization
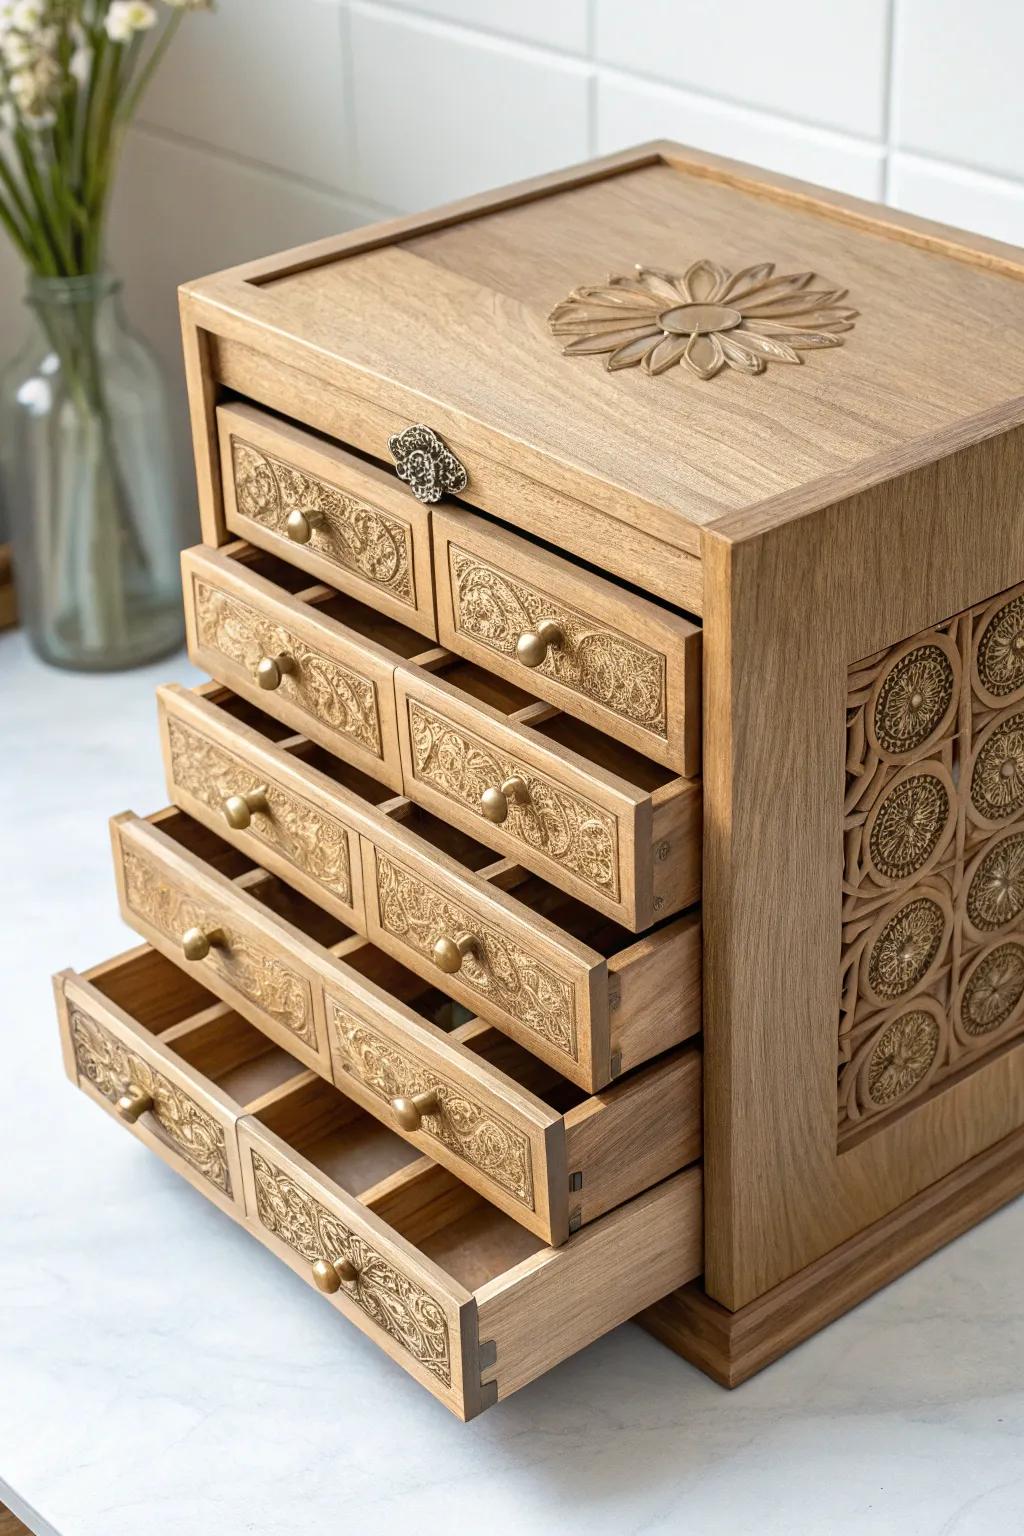
Design a jewelry box featuring several stacked drawers to neatly separate rings, earrings, and necklaces. This setup mimics a mini boutique, making it easy to find exactly what you want.
Recommended accessories:
- Miniature Drawer Knobs: Add a touch of elegance and ease of use with stylish knobs.
- Decorative Wood Panels: Enhance your box’s sides with intricate woodwork.
- DIY Jewelry Box Kit: Simplify your project with a complete kit for layered drawers.
Custom Tile-Decorated Jewelry Box for a Personal Touch
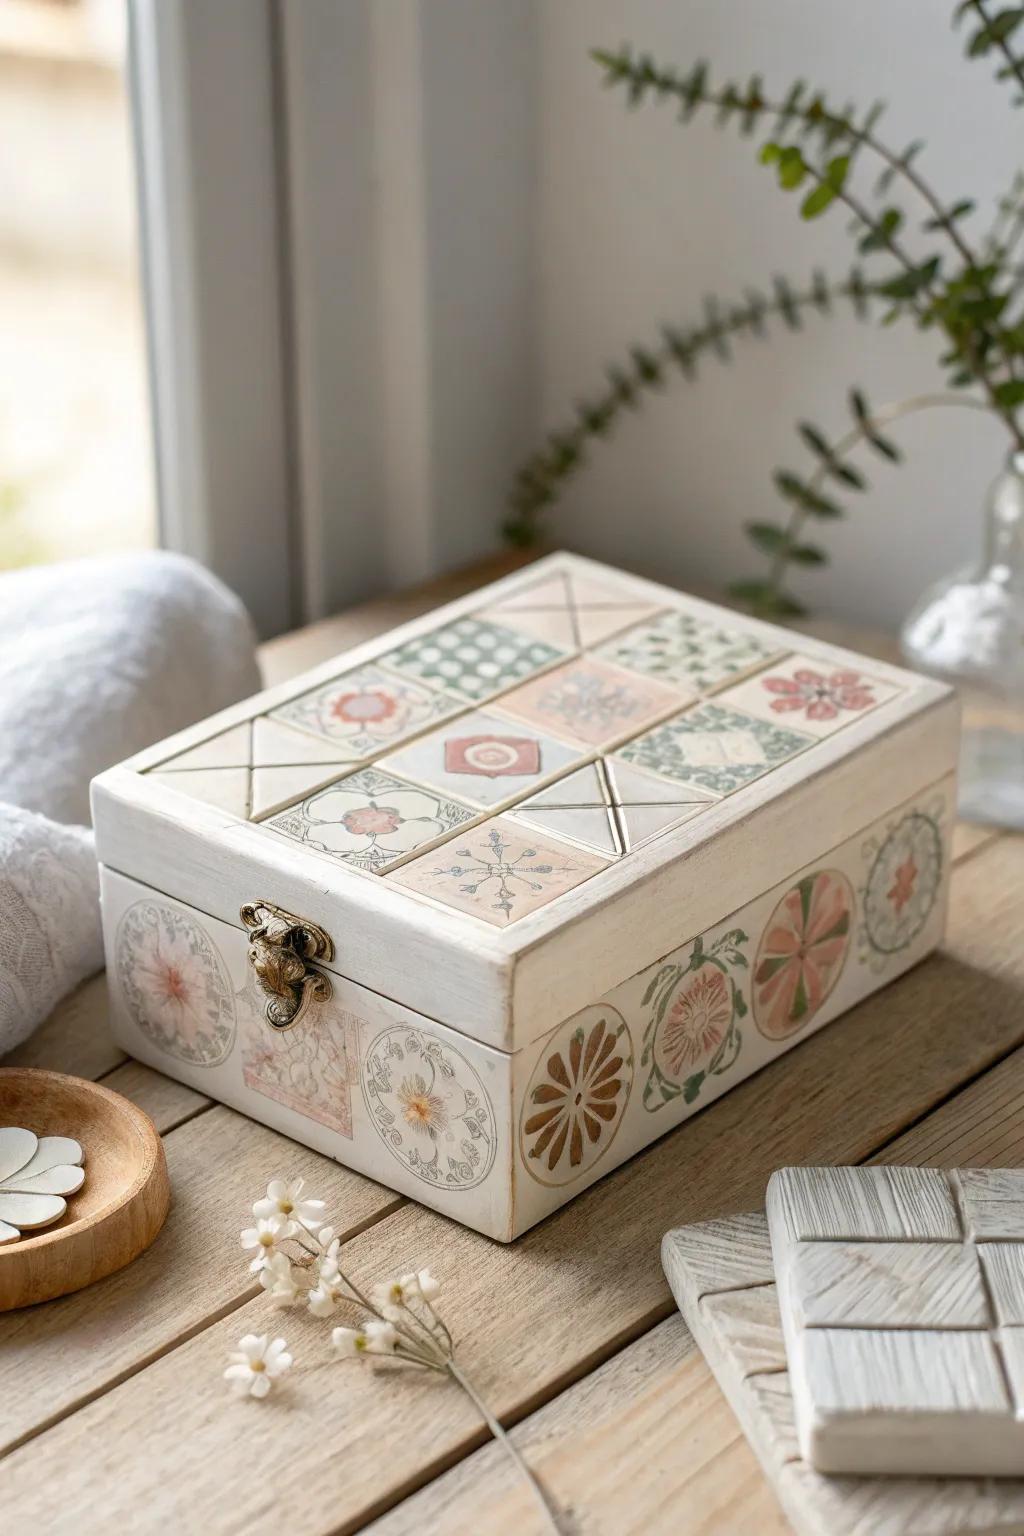
Attach colorful ceramic tiles to a plain wooden box to create a personalized and eye-catching jewelry holder. Adding initials or meaningful symbols can make it a heartfelt gift.
Helpful materials:
- Decorative Ceramic Tiles: Choose from a variety of vibrant tiles to customize your box.
- Plain Wooden Craft Box: Start with a blank canvas ready for your creative ideas.
- Durable Craft Adhesive: Secure your tiles firmly for lasting beauty.
Mirror-Top Jewelry Box: Combining Practicality with Glamour
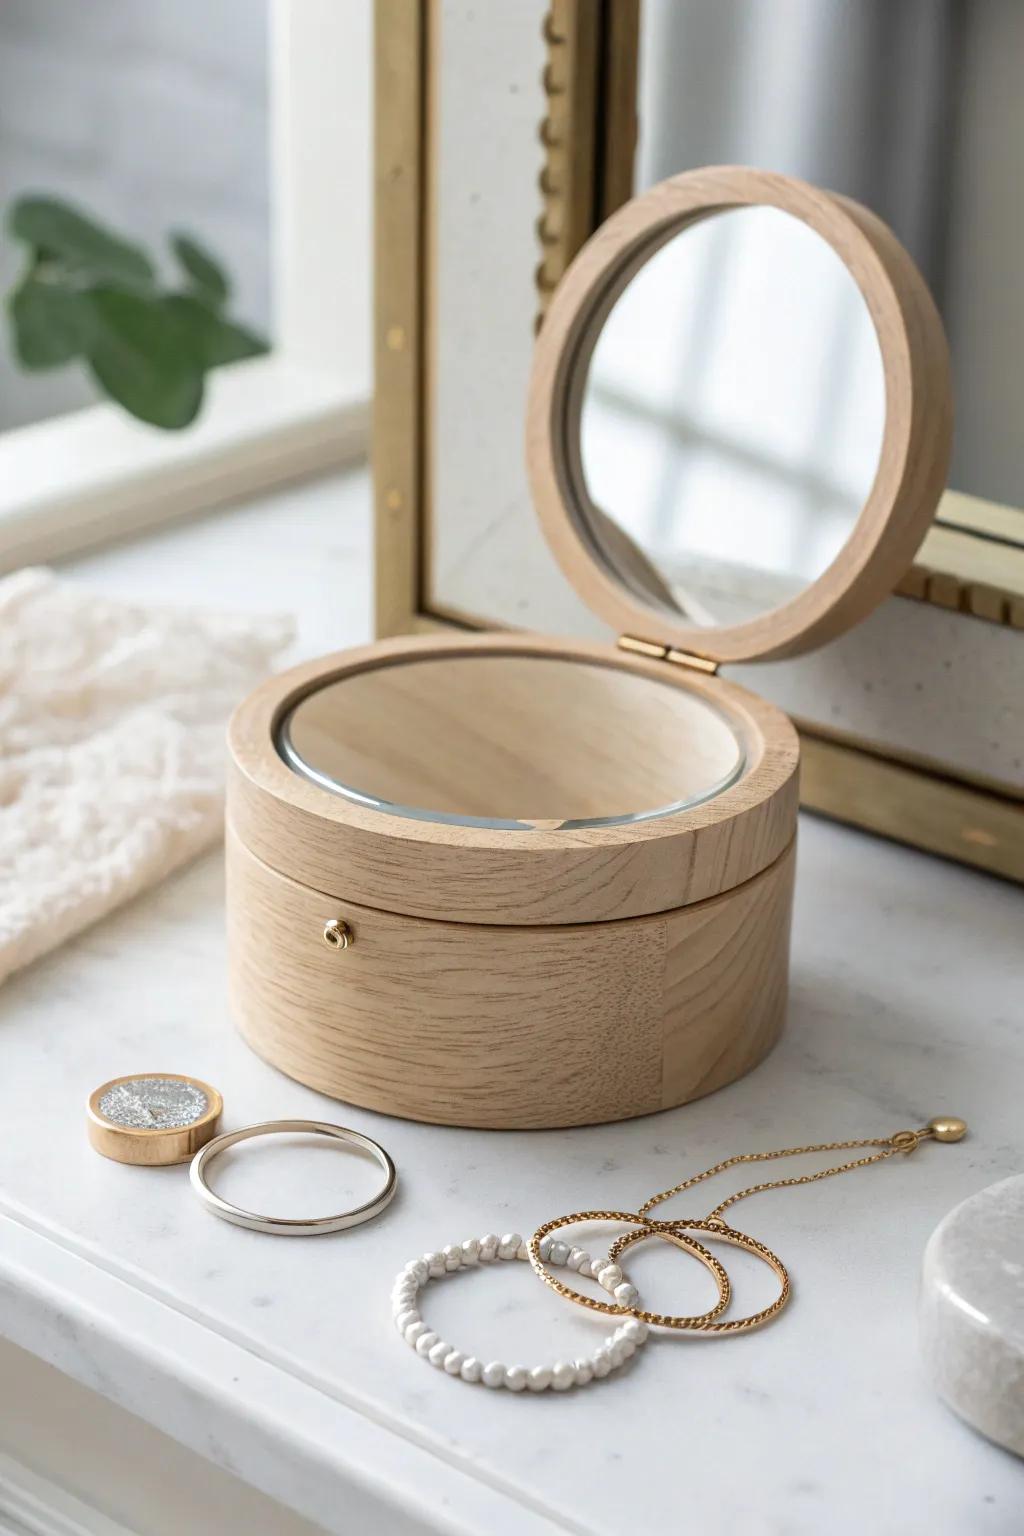
Incorporate a mirror on the lid of your jewelry box to add a functional and elegant element. It’s perfect for last-minute accessory checks while getting ready.
Suggested products:
- Adhesive Round Mirror: Easily attach a sleek mirror to your box’s surface.
- Small Craft Mirrors: Customize your box with various mirror shapes and sizes.
- Wooden Jewelry Box Kit: Build your own box and add a mirror for a personal touch.
Secret Storage: Jewelry Box Hidden Inside a Hollowed Book

Carve out the interior of a hardcover book to fashion a hidden jewelry box. This clever disguise doubles as a conversation piece and a secure storage spot.
Tools and materials:
- Book Binding Kit: Restore and prepare your book for transformation.
- Soft Jewelry Box Liner: Protect your items with cushioned lining.
- Precision Craft Knife: Easily hollow out the book’s pages with accuracy.
Artistic Epoxy Resin Jewelry Box for a Splash of Color
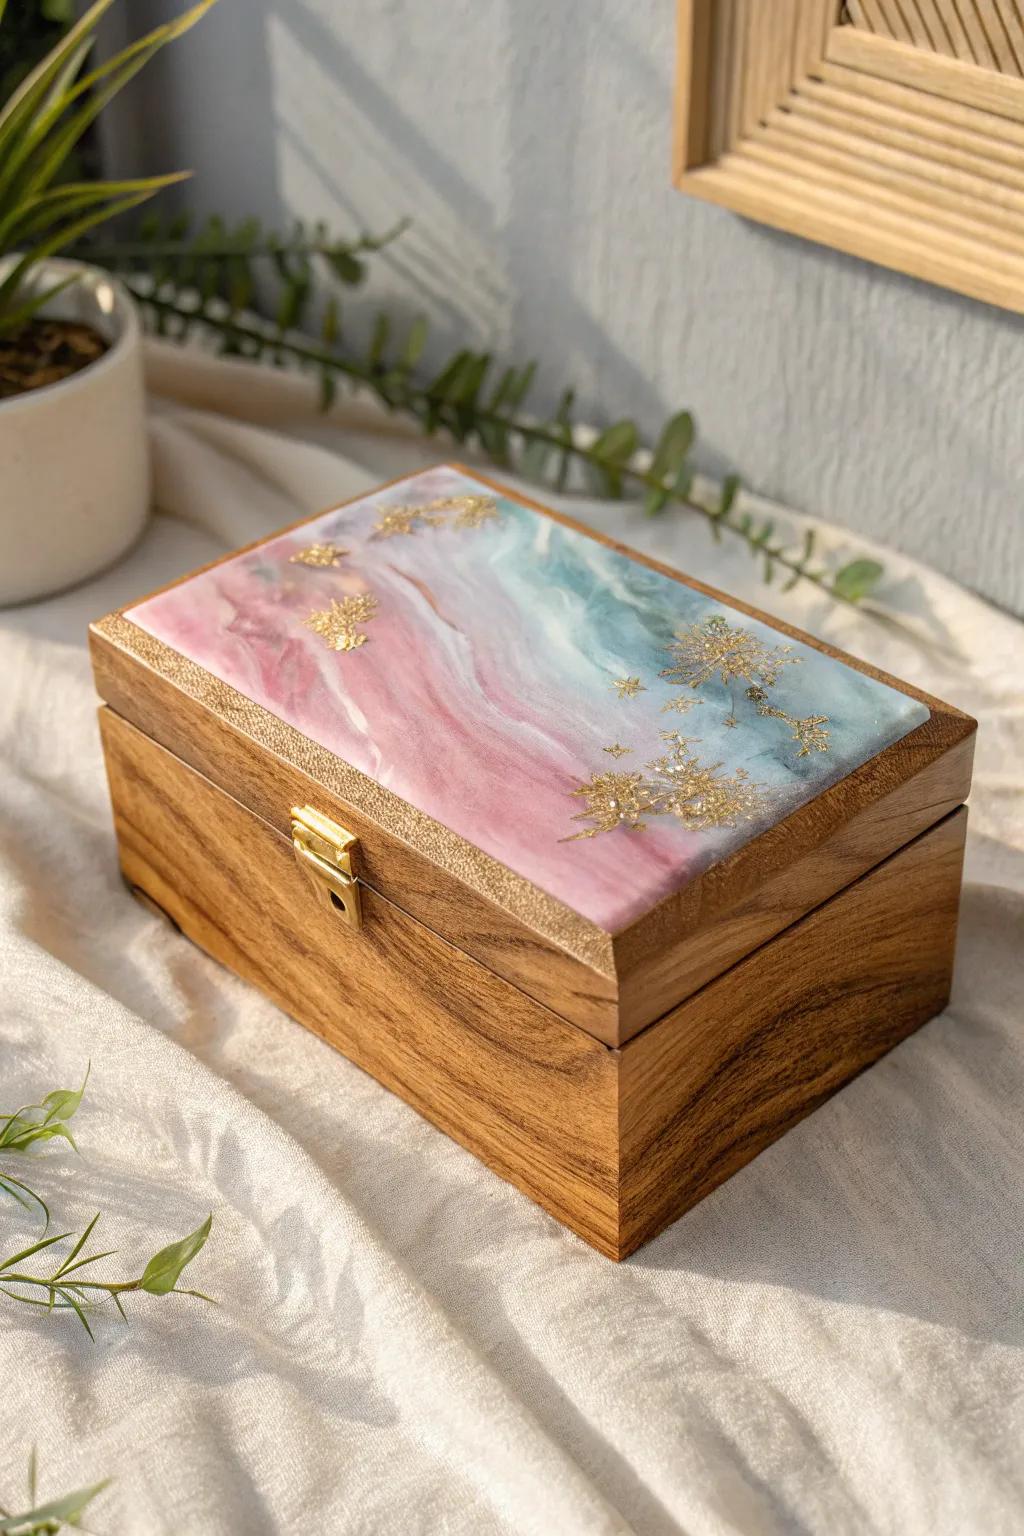
Apply epoxy resin mixed with vibrant pigments over a wooden box to create a one-of-a-kind jewelry holder. While the process requires patience and care, the result is a stunning, glossy masterpiece.
Recommended kits and supplies:
- Epoxy Resin Kit: Achieve a crystal-clear, durable coating for your project.
- Colored Pigment Powders: Add vibrant hues and effects to your resin.
- High-Quality Wooden Jewelry Box: Use as a sturdy base for your resin art.
Decorative Paper-Covered Jewelry Box for a Chic Finish
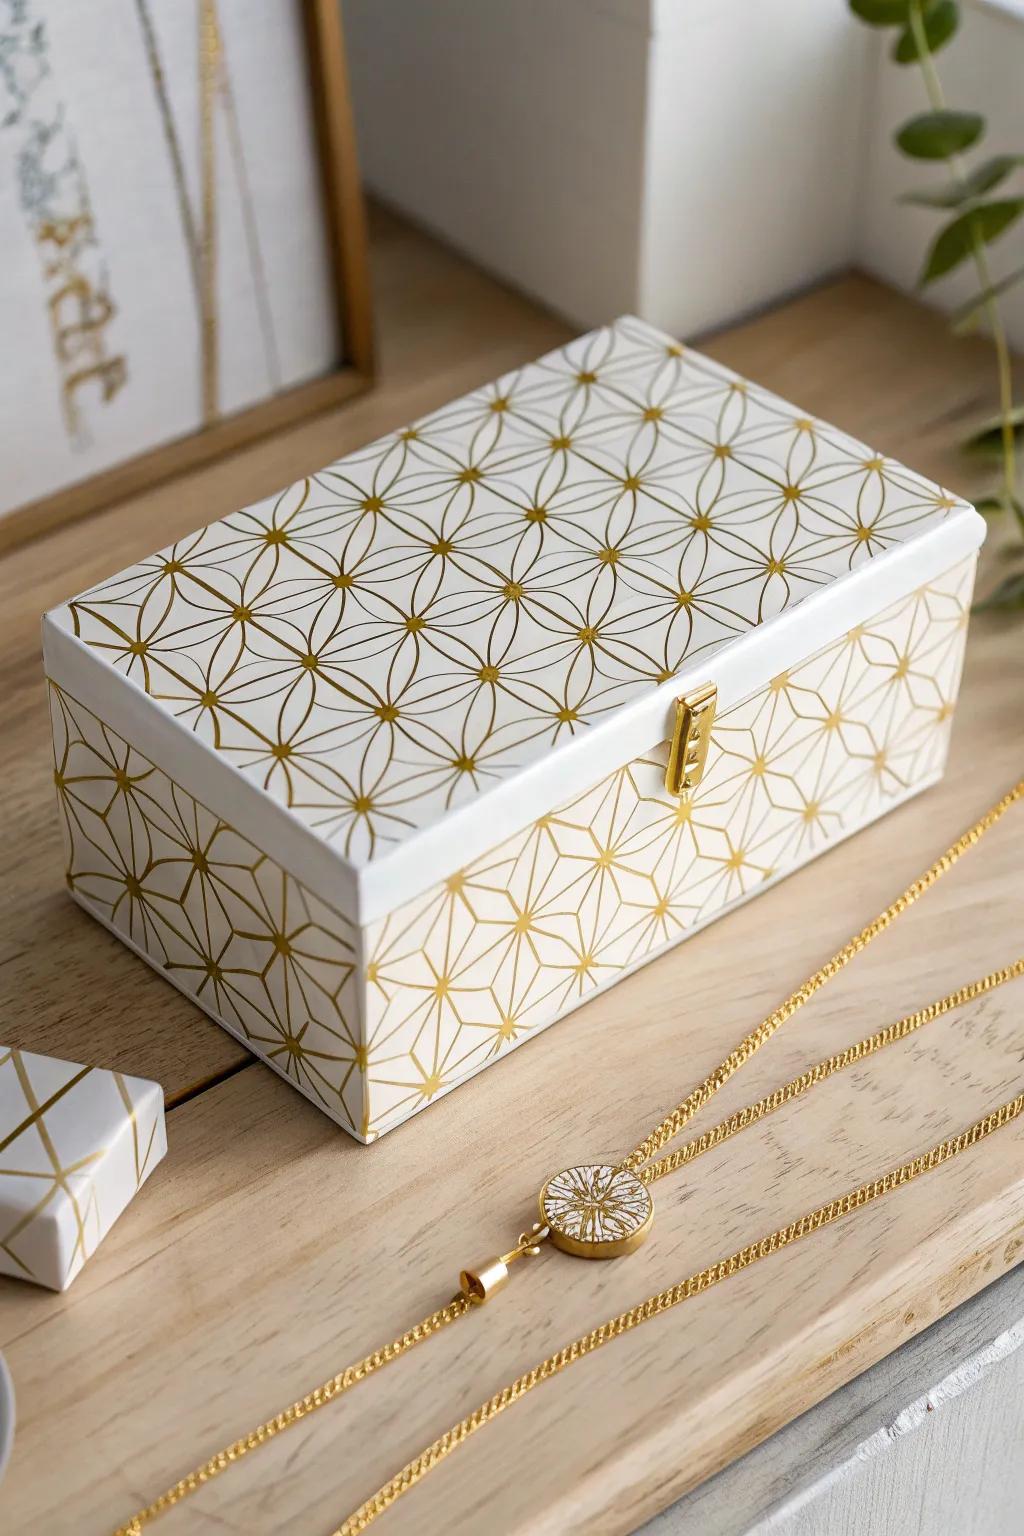
Wrap a plain box with patterned craft paper and seal it with a glossy finish to create a stylish and durable jewelry container. Experimenting with different designs allows you to tailor it to your aesthetic.
Useful products:
- Decorative Craft Paper Set: Choose from a variety of patterns to suit your style.
- Glossy Finish Mod Podge: Protect and enhance your paper covering with a shiny seal.
- Unfinished Wooden Box: Start with a blank base ready for your creative touch.
Soft Fabric-Wrapped Jewelry Box for a Cozy Feel
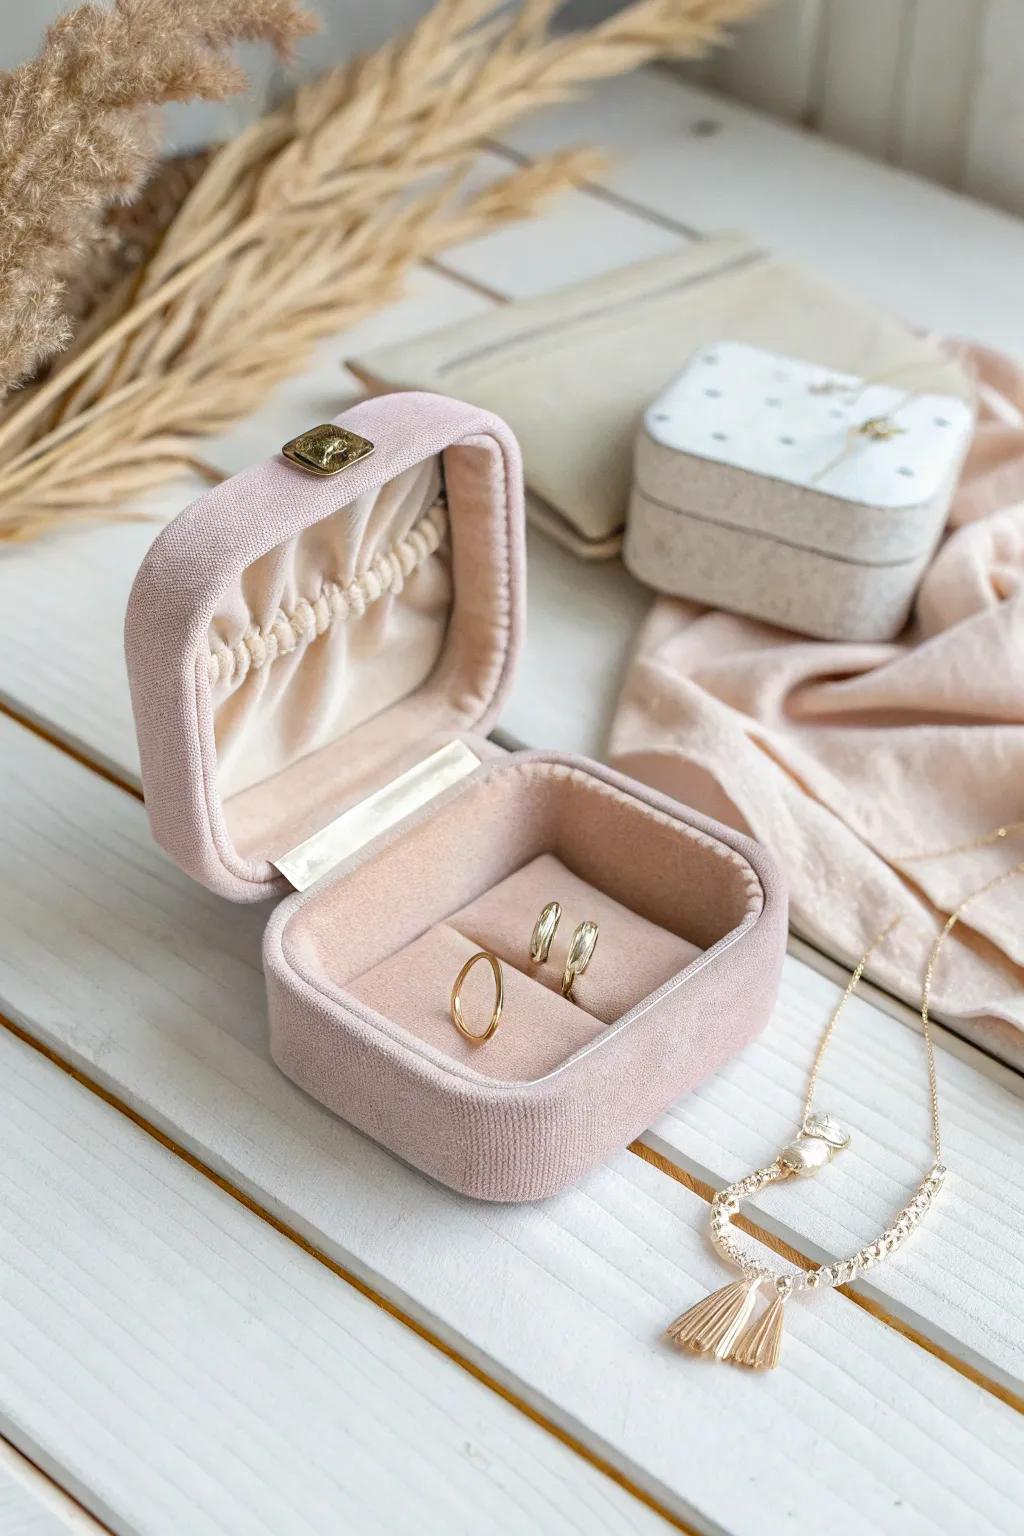
Cover a cardboard or wooden box with fabric of your choice, adding foam padding inside to protect delicate earrings and rings. This approach offers a tactile, inviting storage option.
Materials to consider:
- Assorted Fabric Swatches: Pick fabrics that reflect your personal style.
- Craft Padding Foam: Add cushioning to keep your jewelry safe.
- Strong Fabric Glue: Secure fabric neatly for a polished finish.
Elegant Lace and Pearl-Embellished Jewelry Box
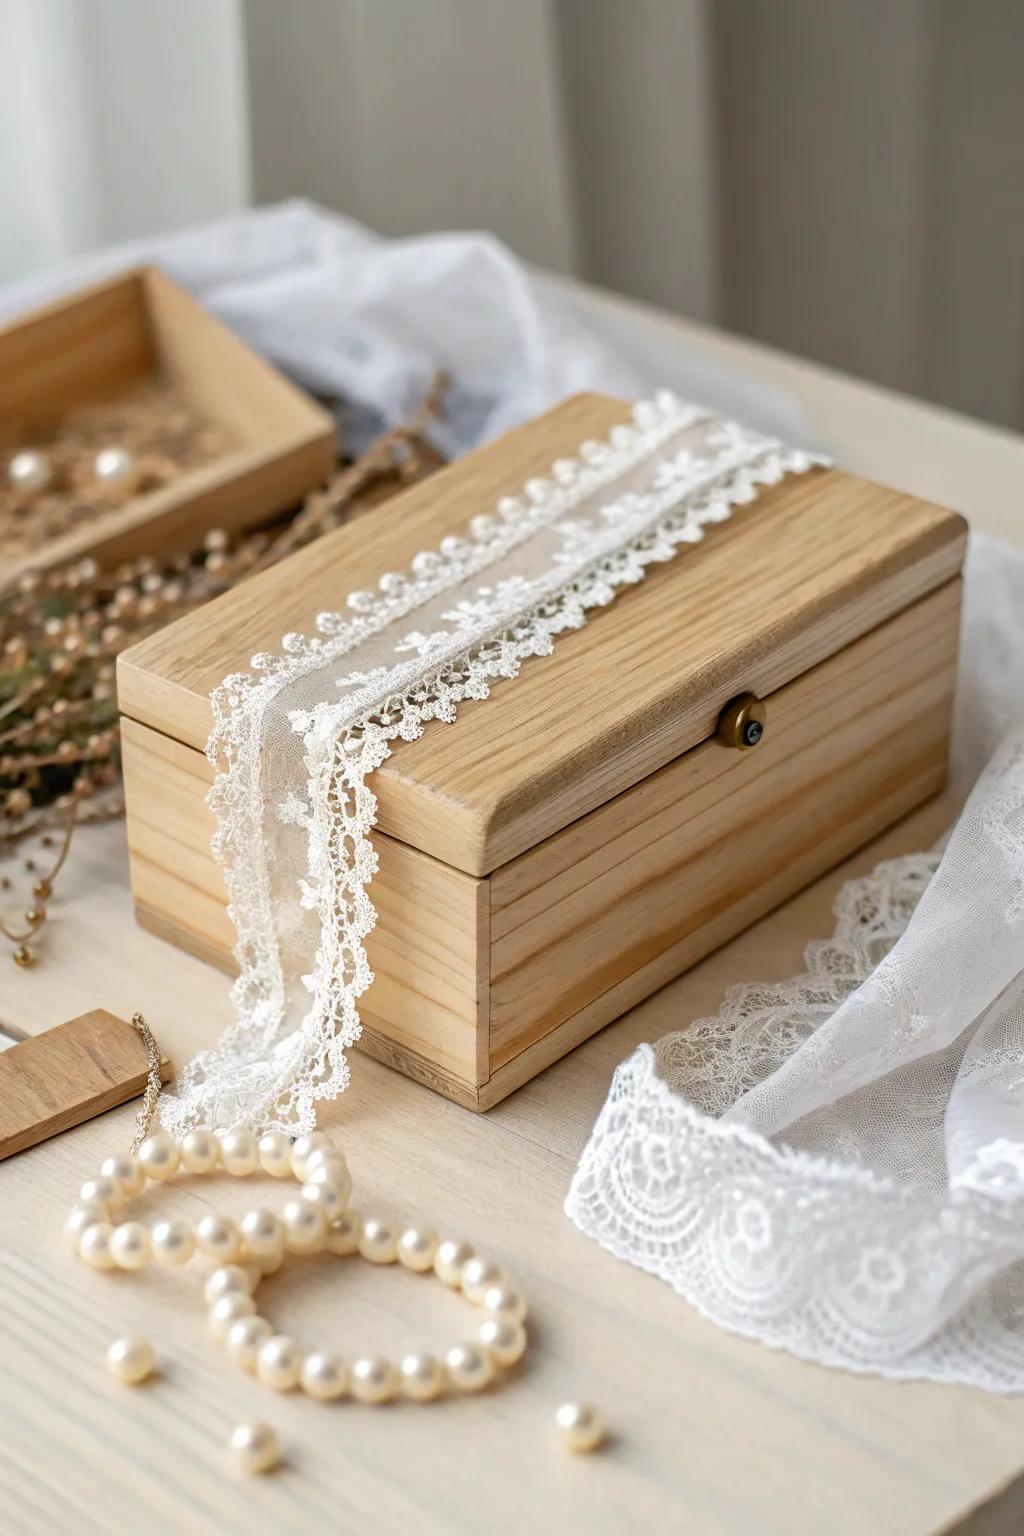
Enhance a plain jewelry box with vintage lace trims and adhesive pearls for a romantic, heirloom-worthy piece. This project makes a thoughtful gift for special occasions like bridal showers.
Recommended embellishments:
- Vintage Lace Trim: Add delicate, classic detailing to your box.
- Adhesive Pearls: Easily apply sparkling accents for a glamorous finish.
- Sturdy Wooden Jewelry Box: Use as a base for your elegant decoration.
Rustic Wood Slab Jewelry Box: Nature Meets Minimalism
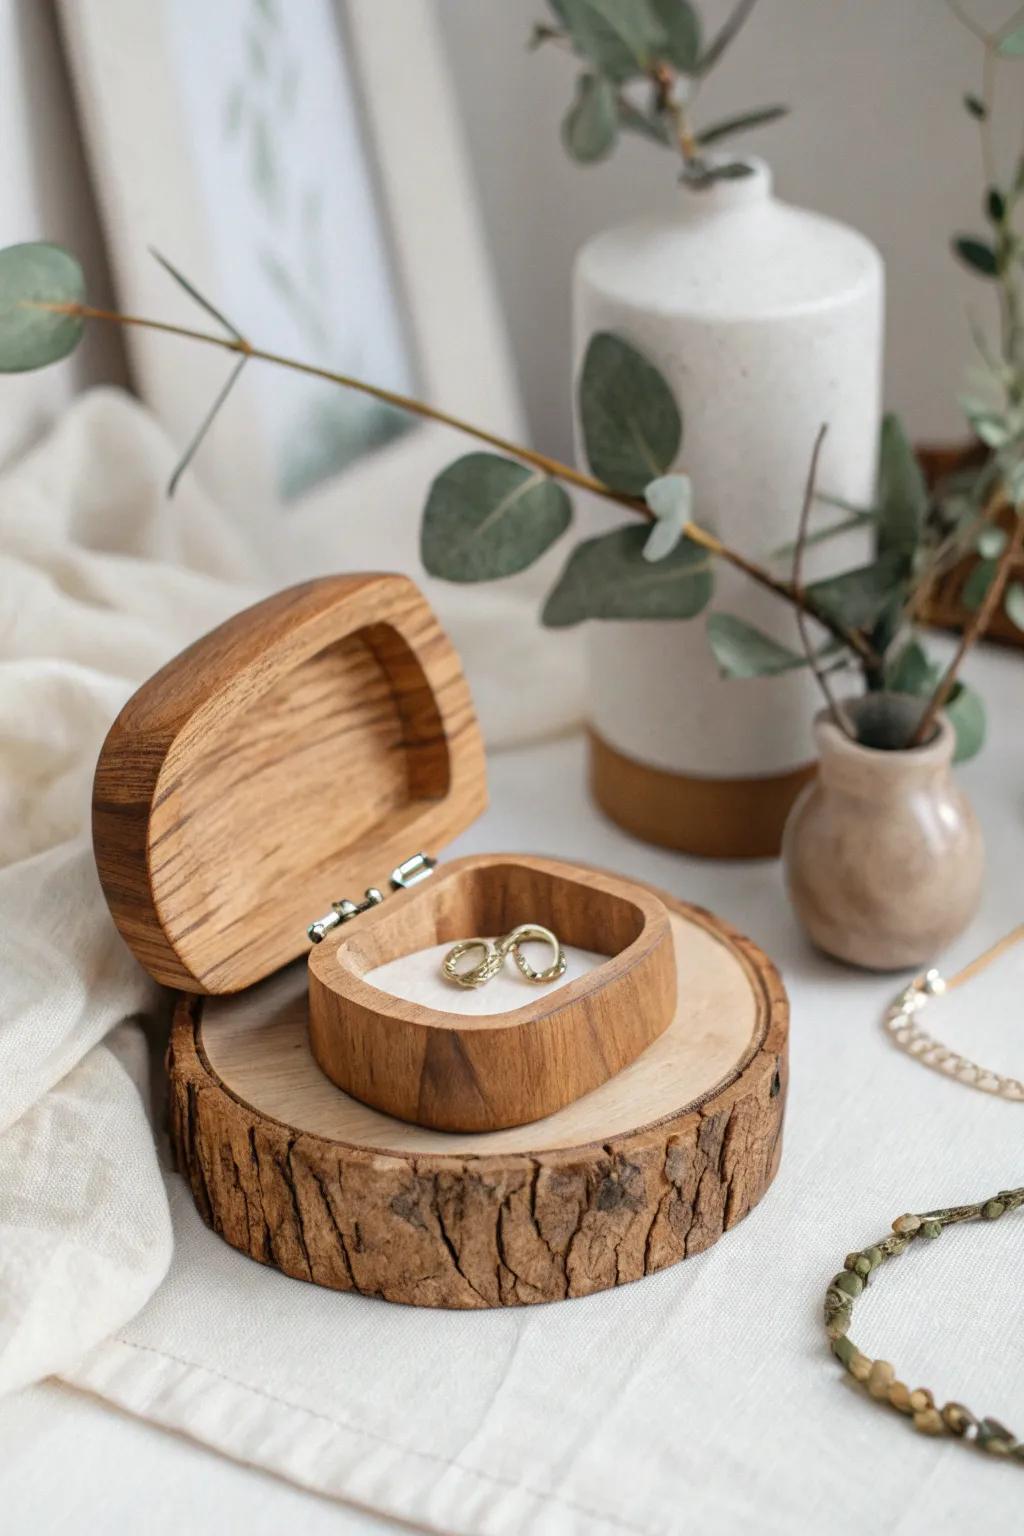
Craft a jewelry box from a raw wood slab, preserving its organic beauty. This project requires basic woodworking tools and results in a unique, earthy storage piece.
Suggested tools and materials:
- Natural Wood Slab: The perfect foundation for a rustic jewelry box.
- Woodworking Tool Kit: Essential tools for shaping and finishing your box.
- Hinges and Fasteners Set: Secure your box with durable hardware.
Painted Glass Jar Jewelry Holder: Simple and Chic
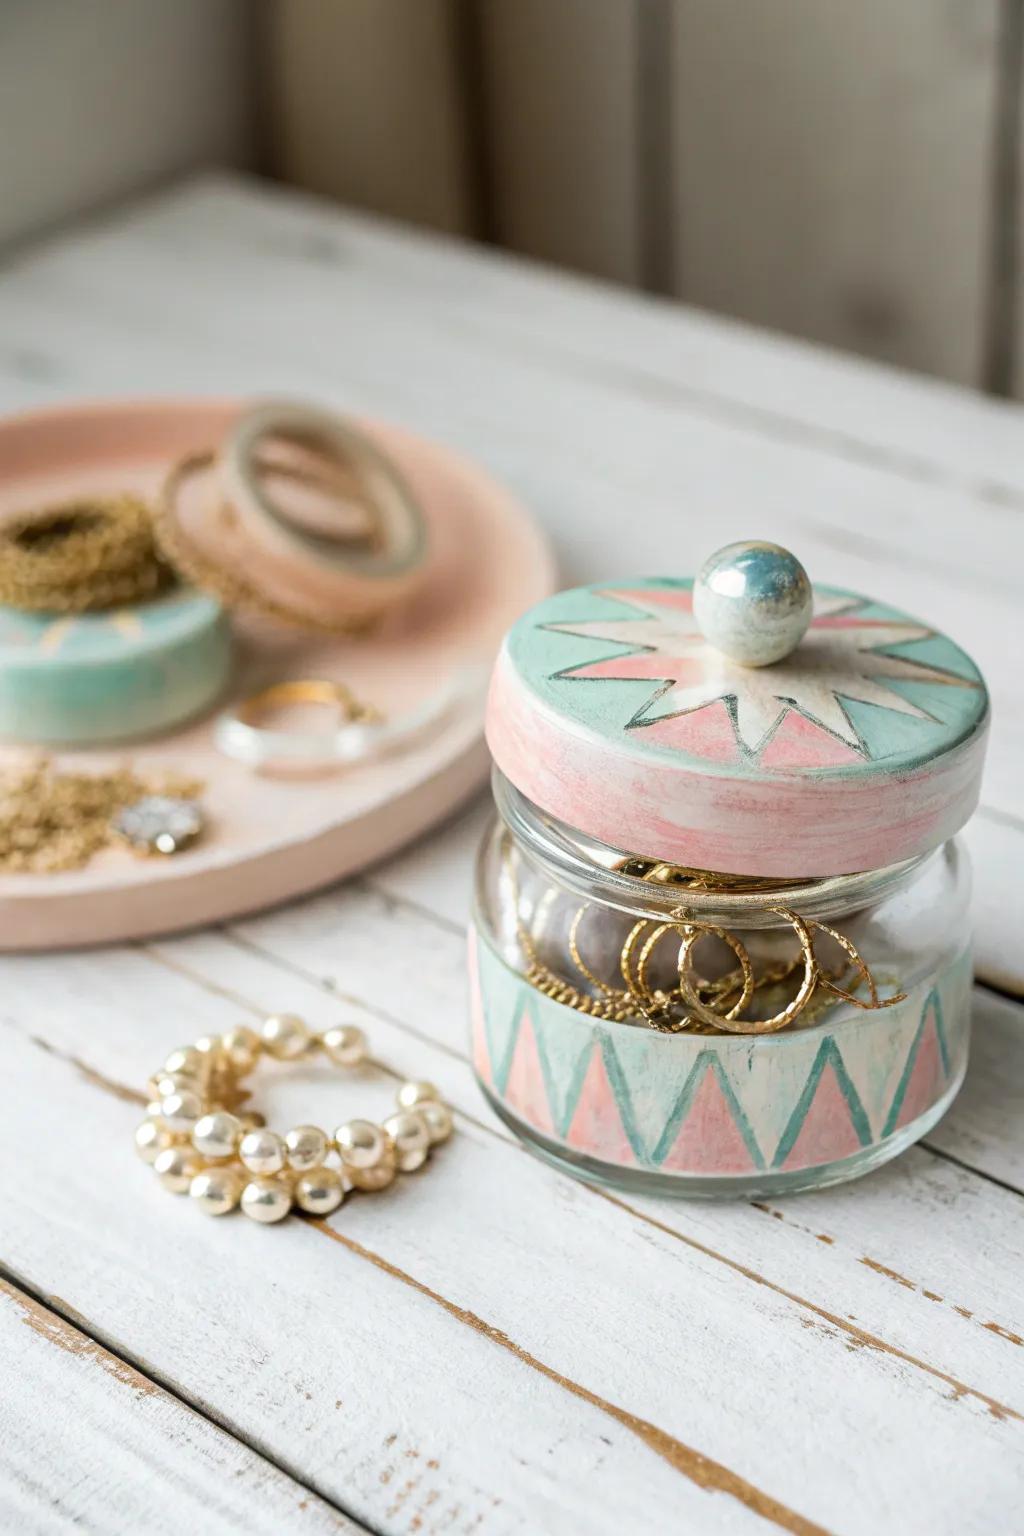
Give new purpose to a glass jar by painting its lid and attaching a decorative knob, creating a charming container ideal for rings and small accessories.
Creative supplies:
- Acrylic Craft Paint Set: Brighten your jar with vibrant, long-lasting colors.
- Decorative Knobs: Add a stylish and functional handle to your jar lid.
- Paintbrush Set: Achieve detailed designs with ease.
Travel-Friendly Leather Pouch Jewelry Box
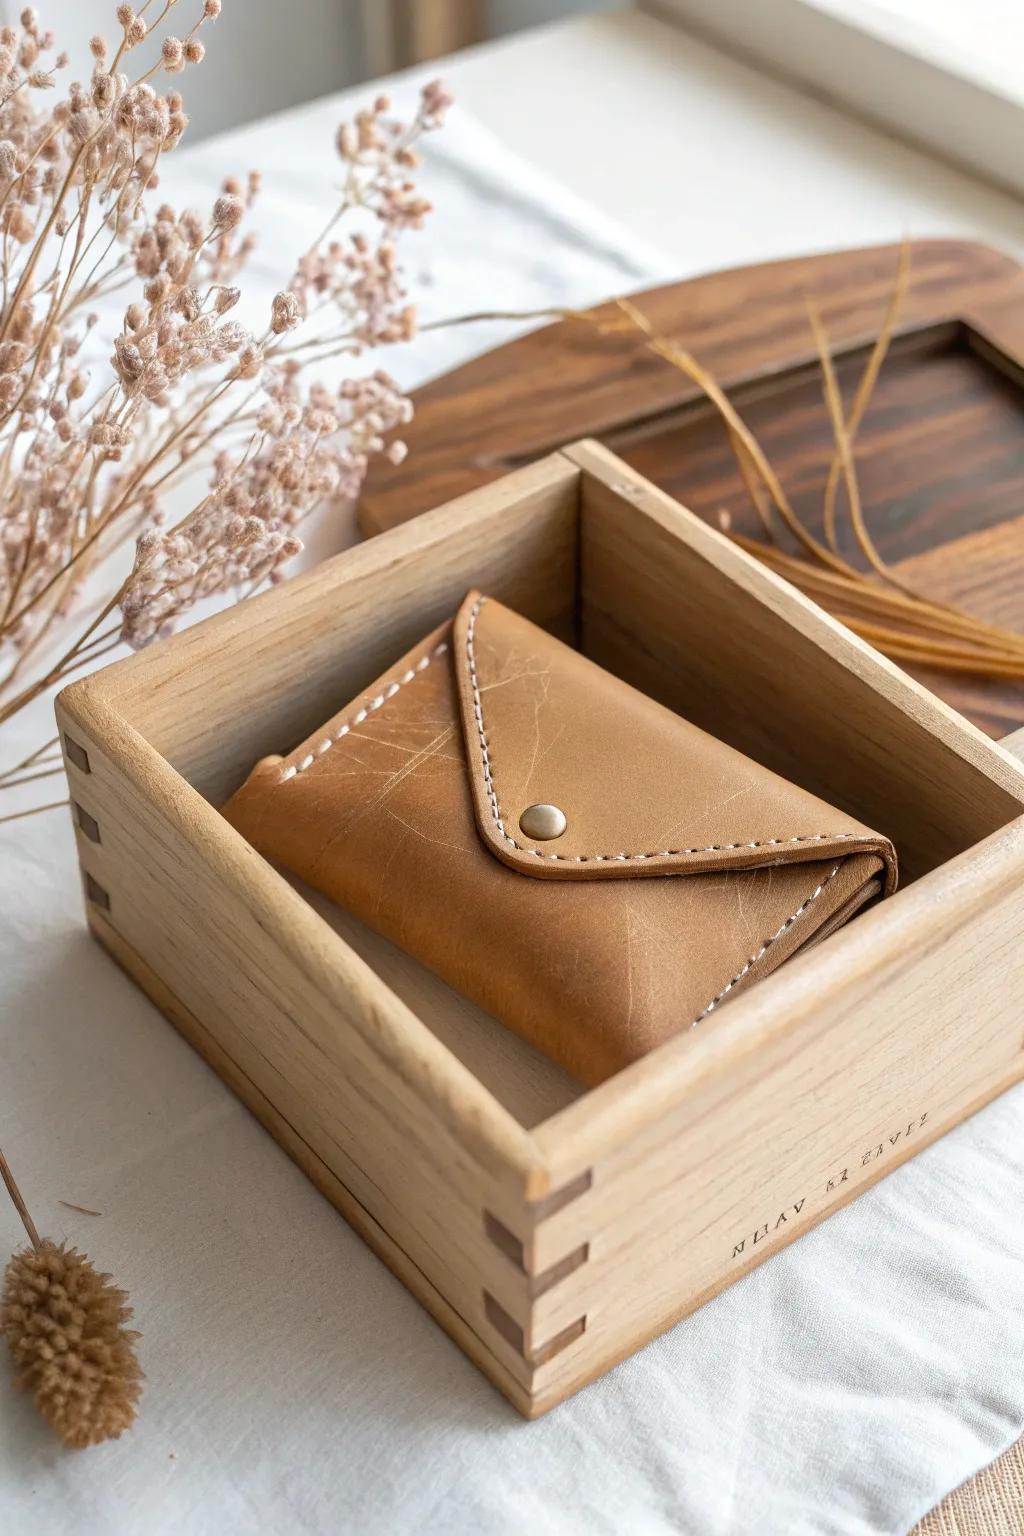
Utilize leather scraps to sew a sleek pouch that fits inside a small box, offering a snug and protective travel companion for your jewelry.
Recommended tools and materials:
- Leather Working Tool Kit: Equip yourself with essentials for crafting leather goods.
- Leather Remnants Pack: Source quality leather pieces for your pouch.
- Compact Jewelry Organizer Box: Ideal for keeping your pouch and jewelry organized during travel.
Seashell-Decorated Jewelry Box: A Coastal Keepsake
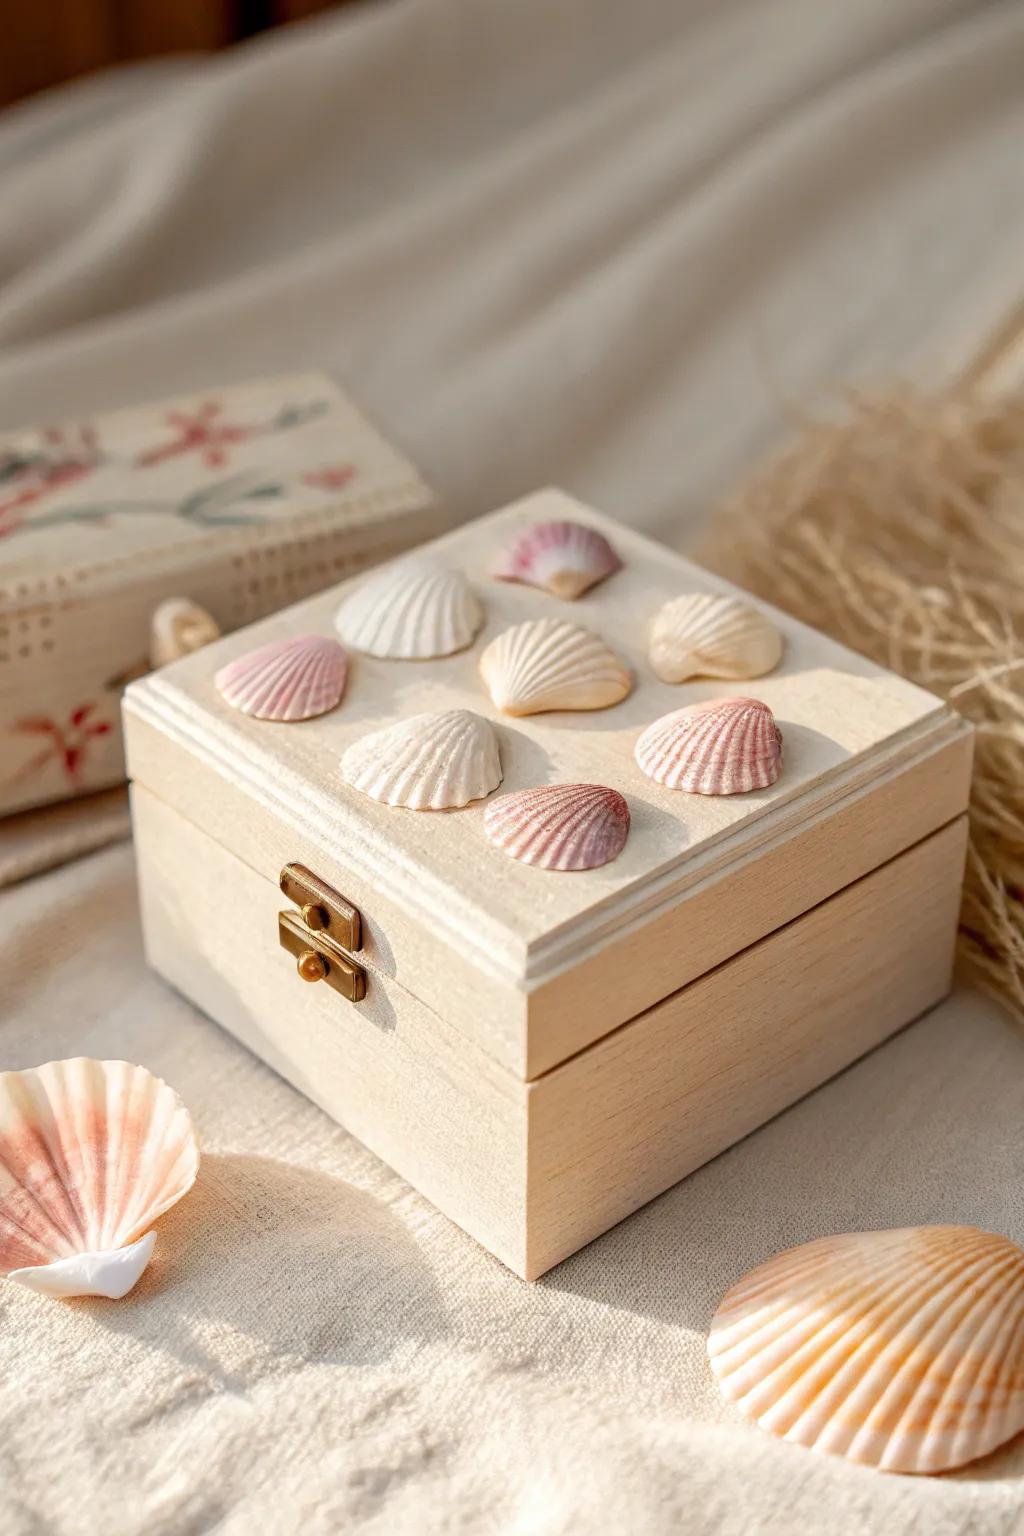
Decorate a small wooden box with an assortment of seashells to create a beach-inspired jewelry holder. This design is perfect for storing bracelets and evokes fond memories of coastal escapes.
Suggested crafting supplies:
- Assorted Craft Seashells: Add natural texture and charm to your box.
- Unfinished Wooden Box: A versatile base ready for your creative touch.
- Strong Craft Adhesive Glue: Secure your seashells firmly for lasting beauty.