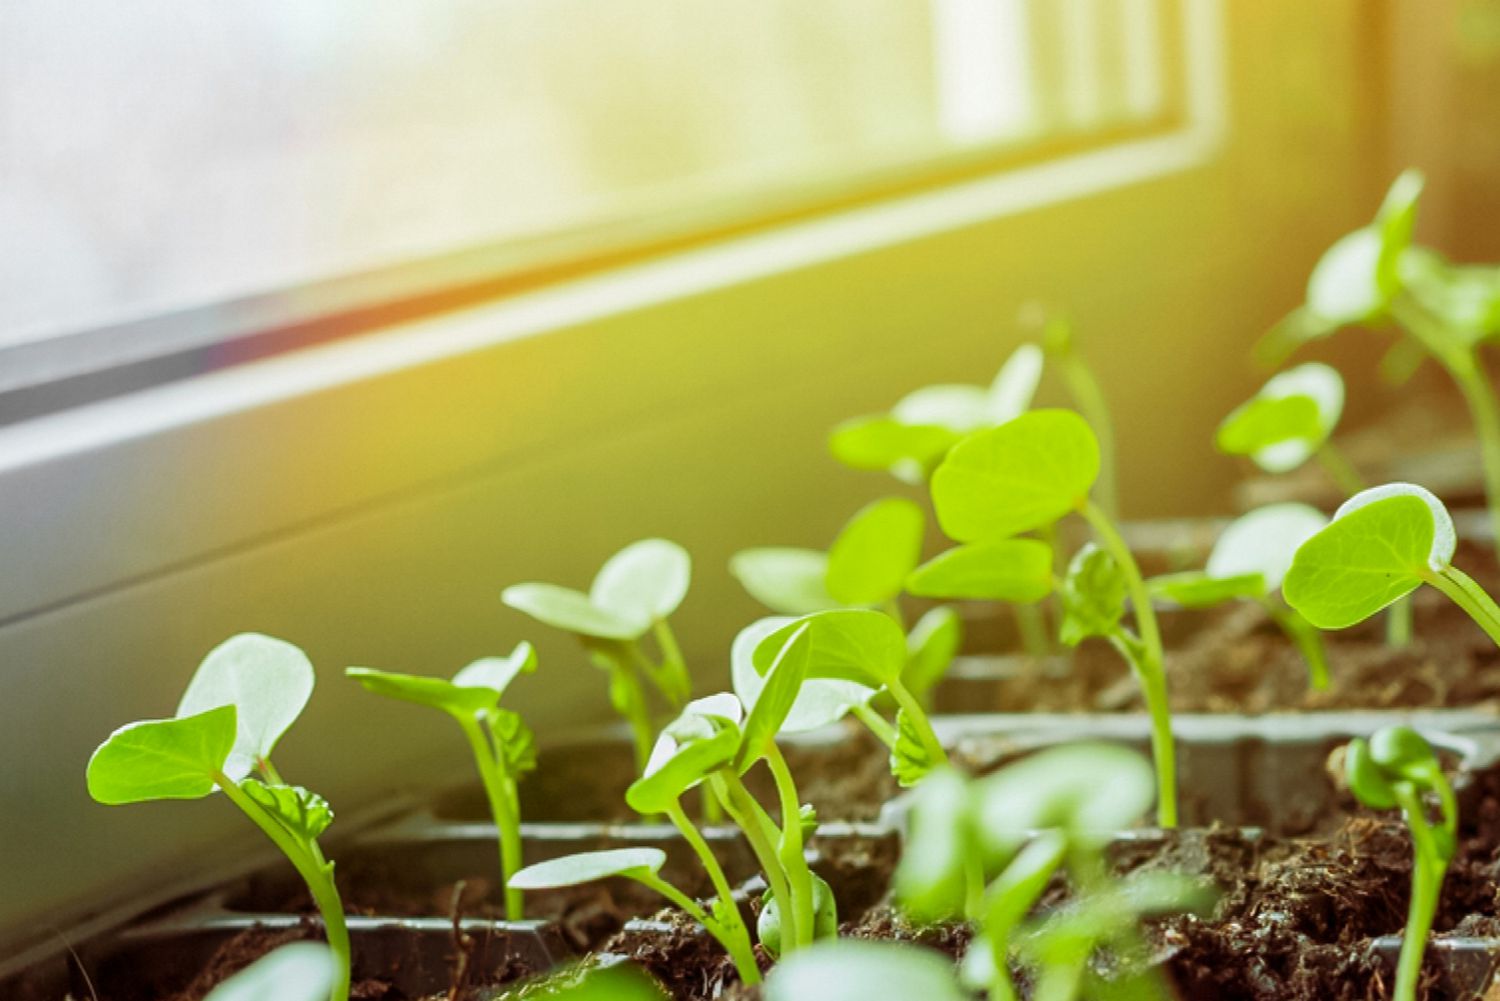
Planting seeds indoors is a magical process that connects you to the essence of growth and renewal. It's like setting the stage for a beautiful garden performance – all without the need for grow lights!
If you're wondering how to start your gardening adventure with just a few simple tools and a lot of love, you've come to the right place.
Let's dive step by step into the process of sowing seeds indoors without a grow light.
Why start sowing indoors?
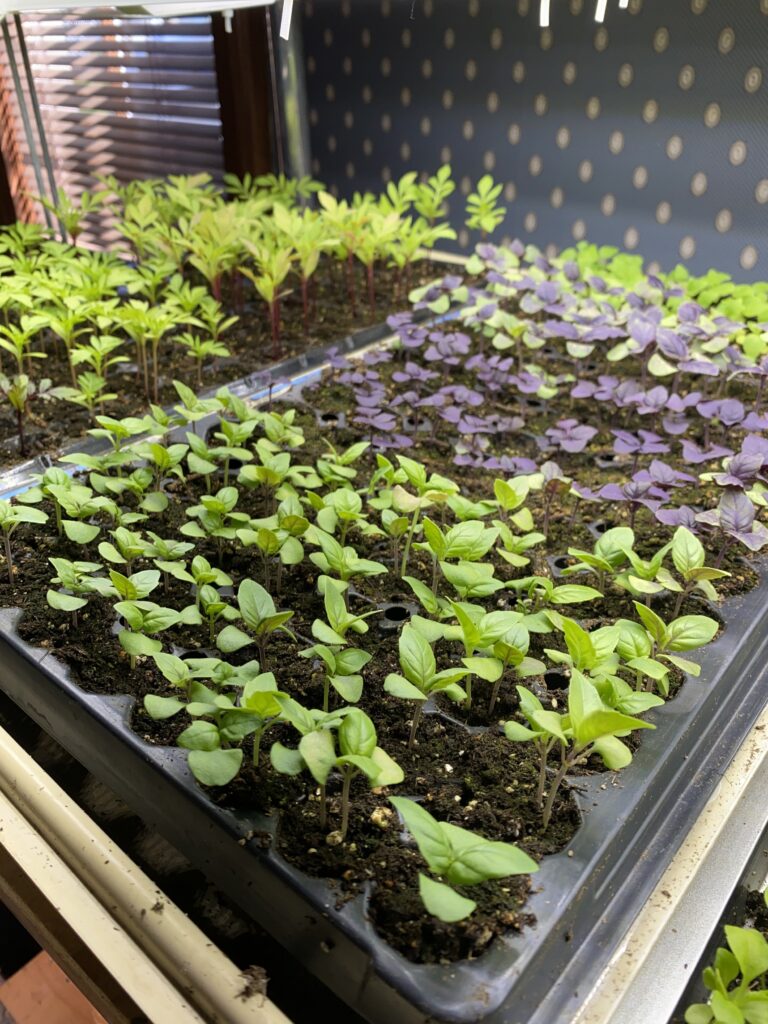
Sowing seeds indoors gives your plants a head start, especially if you live in an area with a short growing season.
By caring for them indoors, you can control their environment and ensure they are strong and healthy when it's time to transplant them outside. Plus, it's incredibly rewarding to watch these tiny seeds sprout and grow under your care.
What you need
You don't need any fancy equipment to start seeds indoors. Here is a list of the most important things:
- Seeds: Choose varieties that are suitable for your climate and growing season.
- Container: Recycled items like egg cartons, yogurt cups, or seed trays work perfectly. Just make sure they have drainage holes.
- Seed starting mix: A light, well-drained mix is ideal. Avoid using garden soil as it is too heavy for delicate seedlings.
- Watering can or spray bottle: Gentle watering is key.
- Plastic wrap or clear lids: To create a mini greenhouse effect.
- A sunny window: South-facing windows are ideal for natural light.
Step-by-step instructions
1. Choose the right seeds
Choose seeds that thrive in your region and are easy to grow indoors. For spring preparation, select vegetables and flowers that will be planted outdoors after the last frost date.
Tomatoes, peppers, basil, marigolds and zinnias are excellent options. Check the seed packet for specific planting schedules and growing requirements.
Planning ahead ensures you adapt to the local climate.
2. Prepare your containers
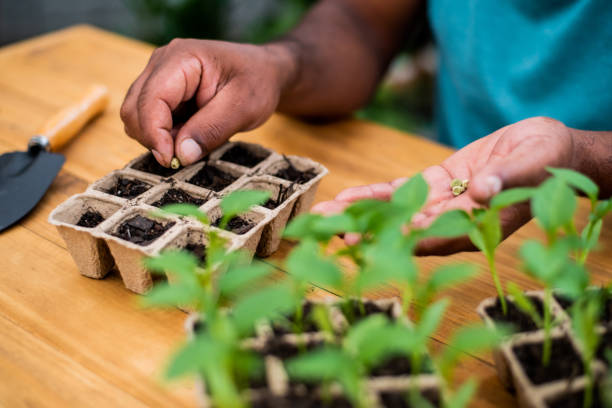
Reuse materials like egg cartons, yogurt cups, or even takeout containers.
Wash them thoroughly with soap and water to remove possible pathogens. Make sure containers have adequate drainage by poking small holes in the bottom. Place a tray or plate underneath to catch any excess water.
Preparing your containers now will save you time later and give you a clean starting point for your seeds.
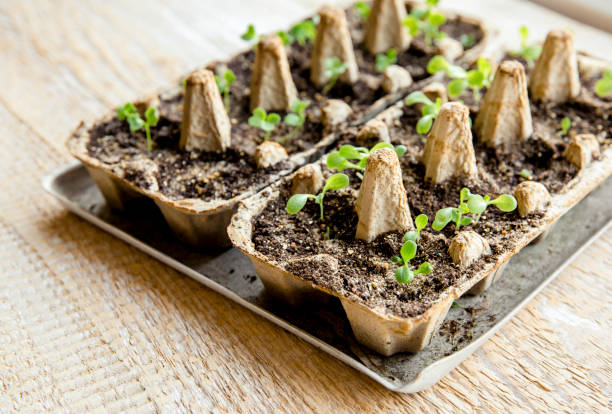
3. Fill with seed starter mix
A quality seed starting mix is crucial for healthy seedlings. These mixes are specifically designed to be light and airy so roots can grow easily.
Moisten the mixture before filling the containers. it should be moist but not soggy. Gently press the mixture into your containers without compacting it too much, as the roots need room to spread.
4. Plant your seeds
Check the seed packet for the recommended planting depth. As a general rule, you should plant seeds at a depth that is approximately two to three times their size. Make small holes with a pencil or your finger, place the seeds in them and cover them lightly with soil.
Label each container with the seed type and planting date. This small step will be a lifesaver later when identifying seedlings.
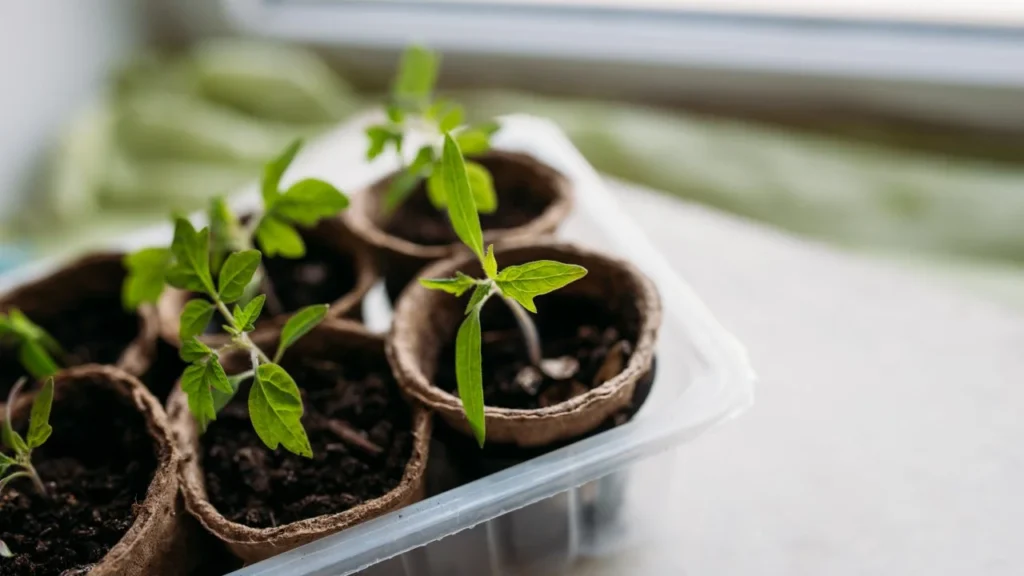
5. Create a mini greenhouse
Cover containers with plastic wrap or a clear lid to trap moisture and heat. This creates a greenhouse effect that accelerates germination. Poke a few small holes for ventilation to prevent mold.
Place the containers in a warm place – ideally above the refrigerator or near a radiator. Check daily to see if the seeds are germinating and remove the cover once the seeds germinate.
6. Place in a sunny place
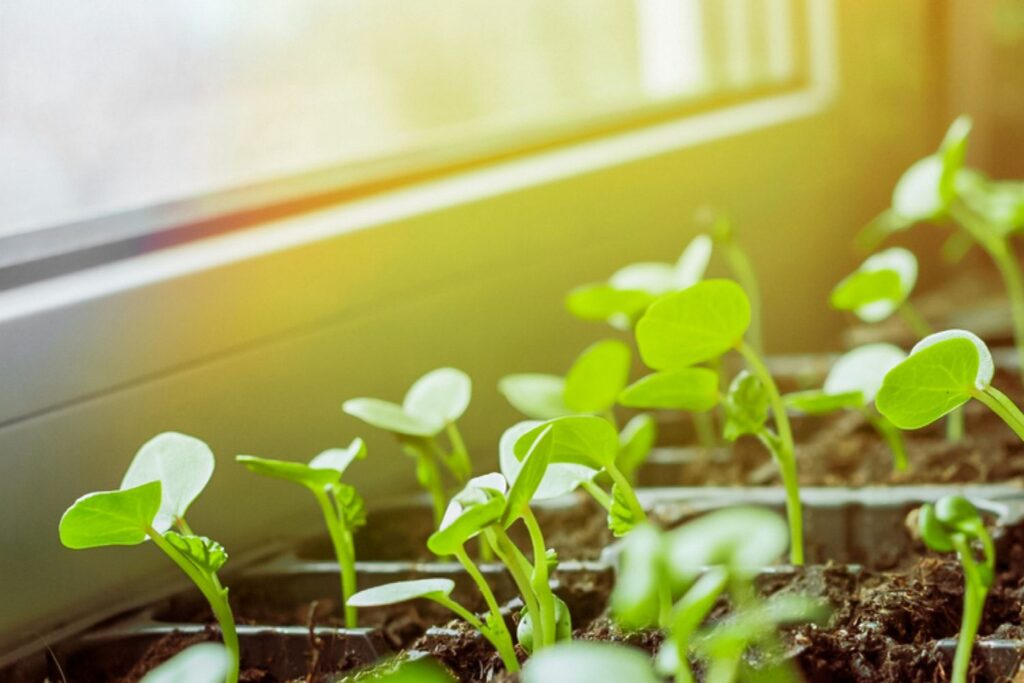
Once your seedlings emerge, they need plenty of light to grow strong. Place them in a south-facing window where they will receive at least six to eight hours of sunlight each day.
If natural light is limited, consider using reflective surfaces such as aluminum foil to reflect light onto the seedlings. Rotate containers regularly to promote straight, upright growth.
7. Water with caution
Seedlings are delicate and excessive watering can quickly lead to problems such as root rot. Use a spray bottle or fine-nosed watering can to gently moisten the soil. Check moisture levels daily – the top layer should be moist but not saturated.
Bottom watering by placing containers in a tray of water is another effective method that promotes deep root growth.
8. Thin the seedlings
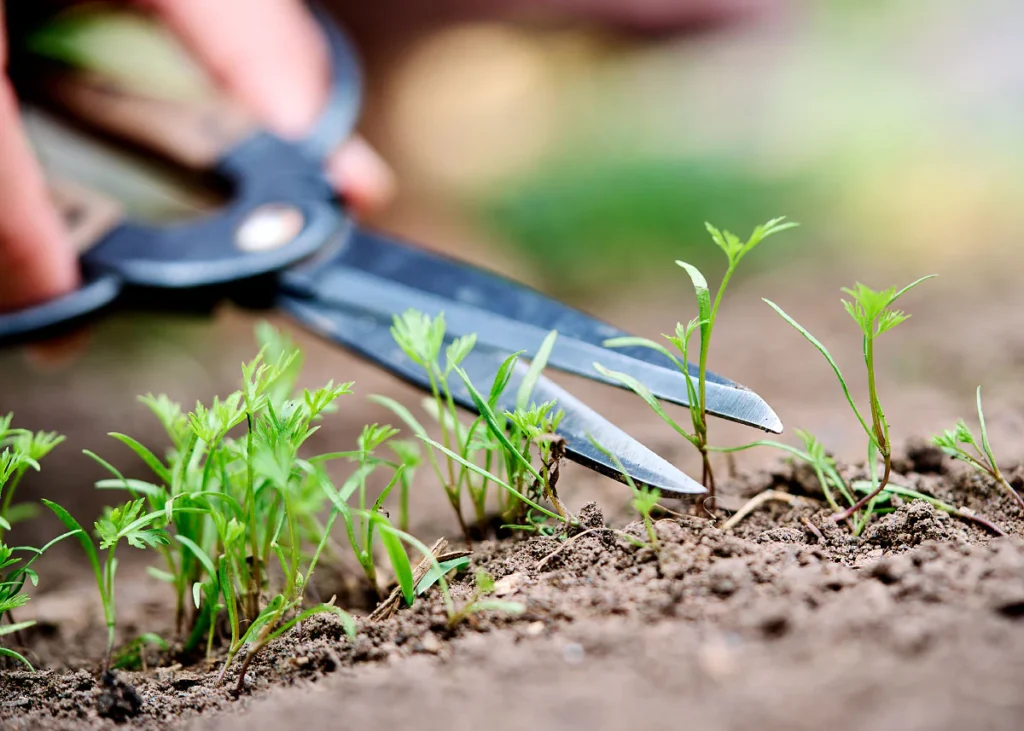
When your seedlings develop their first set of true leaves (the second pair of leaves), it's time to thin them out. Using small scissors, cut off the weaker seedlings at the base, allowing the strongest ones to thrive.
Avoid pulling up seedlings as this can disturb the roots of their neighbors.
Thinning ensures that each plant has enough space and nutrients to grow.
9. Harden off before transplanting
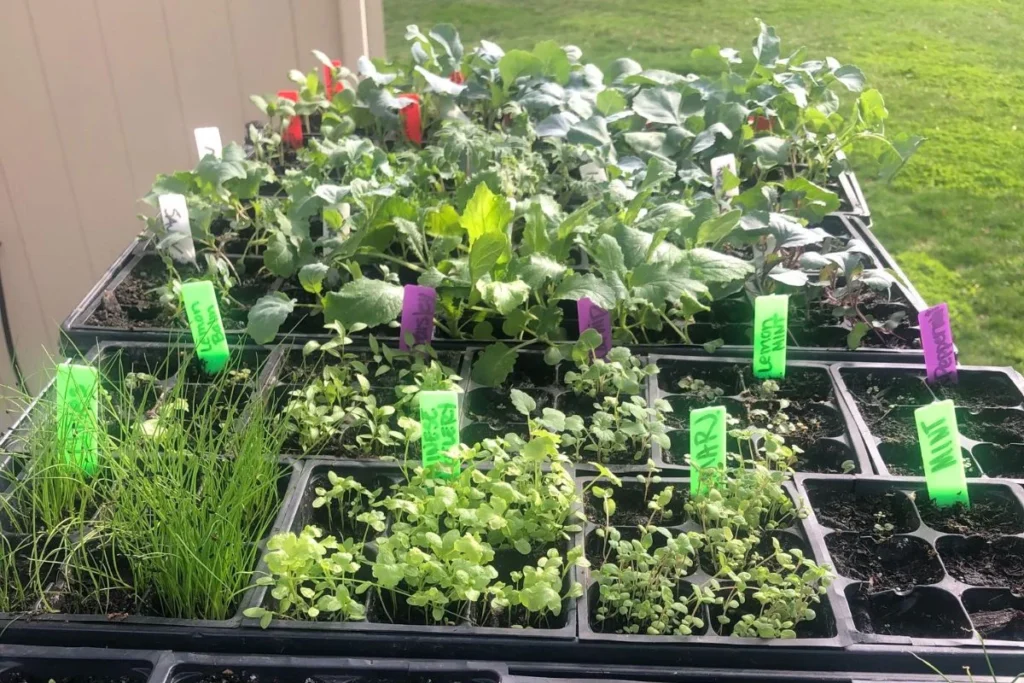
Start the hardening off process two weeks before transplanting outdoors. Place your seedlings outdoors in a sheltered location for a few hours each day, gradually increasing their exposure to sunlight, wind, and fluctuating temperatures. This step will acclimate them to outdoor conditions and reduce transplant shock.
Remember to bring them indoors at night when temperatures drop significantly.
Spring Preparation Tips
Spring is a busy time for gardeners, so getting organized early makes a big difference. Here are a few more preparation tips:
- Prepare your garden beds: Remove dirt, test soil pH, and amend with compost or organic matter to maintain nutrient-rich soil.
- Plan your layout: Decide where each plant should be based on sunlight and spacing requirements.
- Replenish supplies: Make sure you have tools, stakes, and mulch ready for planting day.
- Keep a garden diary: Track what you've planted, germination rates, and any observations to improve future gardening efforts.
Troubleshooting tips
- Leggy seedlings: If your seedlings are tall and spindly, they are not getting enough light. Place them closer to the window or use reflective materials to increase light exposure.
- Mold growth: Increase ventilation by removing the plastic cover sooner or using a small fan to circulate air.
- Overwatering: Monitor moisture levels carefully to avoid waterlogging the soil, which can lead to fungal problems.
The joy of growing
There is something deeply satisfying about developing seeds into flowering plants. Even without grow lights, you can create a vibrant indoor garden that comes to life in spring.
By following these detailed steps and preparing in advance, you will set the stage for a lush and beautiful growing season. So grab the seeds, find a sunny window and let the magic begin!
Mastering Indoor Seed Starting: Your Guide to Thriving Without Grow Lights!
Starting your seeds indoors can be a rewarding experience, allowing you to get a head start on your garden and ensure the health and vitality of your plants. While many gardeners rely on expensive grow lights to nurture their seedlings, it is absolutely possible to successfully start seeds indoors without the need for artificial lighting. By following some simple tips and strategies, you can master the art of indoor seed starting without breaking the bank.
Benefits of Indoor Seed Starting Without Grow Lights
There are various benefits to starting seeds indoors without the use of grow lights. Some of these benefits include:
- Cost savings: Grow lights can be expensive to purchase and operate. By utilizing natural light sources and following proper techniques, you can save money on your indoor seed starting setup.
- Environmental sustainability: By minimizing the use of artificial lighting, you can reduce your carbon footprint and lower your energy consumption.
- Healthier seedlings: Natural light is often more beneficial to plants than artificial light sources. By exposing your seedlings to natural sunlight, you can help them grow stronger and healthier.
Tips for Successful Indoor Seed Starting Without Grow Lights
Here are some practical tips to help you master indoor seed starting without the need for grow lights:
- Choose a sunny location: Place your seed trays near a south-facing window to ensure that your seedlings receive ample sunlight throughout the day.
- Rotate your trays: To ensure even growth, rotate your seed trays daily so that all sides of the seedlings receive equal light exposure.
- Use reflective surfaces: Place reflective materials, such as aluminum foil or white cardboard, around your seed trays to help bounce natural light onto your seedlings.
- Monitor moisture levels: Check the moisture levels of your seed starting mix regularly and water your seedlings as needed to prevent them from drying out.
Case Study: Sarah’s Successful Indoor Seed Starting Experience
Sarah, a seasoned gardener, decided to try starting her seeds indoors without the use of grow lights. She placed her seed trays on a table near a large south-facing window in her living room, ensuring that her seedlings received plenty of natural light each day. By following proper watering and rotation practices, Sarah was able to grow healthy and robust seedlings without the need for artificial lighting.
Firsthand Experience: My Journey with Indoor Seed Starting
As a gardening enthusiast, I have experimented with various methods of indoor seed starting over the years. While I initially relied on grow lights, I eventually transitioned to starting my seeds without artificial lighting. By utilizing natural light sources and following best practices, I have been able to successfully grow a wide variety of plants from seed indoors. I have found that with the right approach, indoor seed starting without grow lights can be just as effective as using artificial lighting, if not more so.
 redboth.com Decoration ideas for your home
