
Nestled among the swaying trees and chirping birds lies The Carpenter’s Hideaway – a sanctuary for woodworking enthusiasts looking to escape the hustle and bustle of everyday life. In this guide, we will explore the ins and outs of building the perfect backyard woodworking shed, complete with tips and tricks to create a space that inspires creativity and craftsmanship. Join us on a journey to transform your outdoor space into a haven for all things woodworking.
Planning the Layout and Design
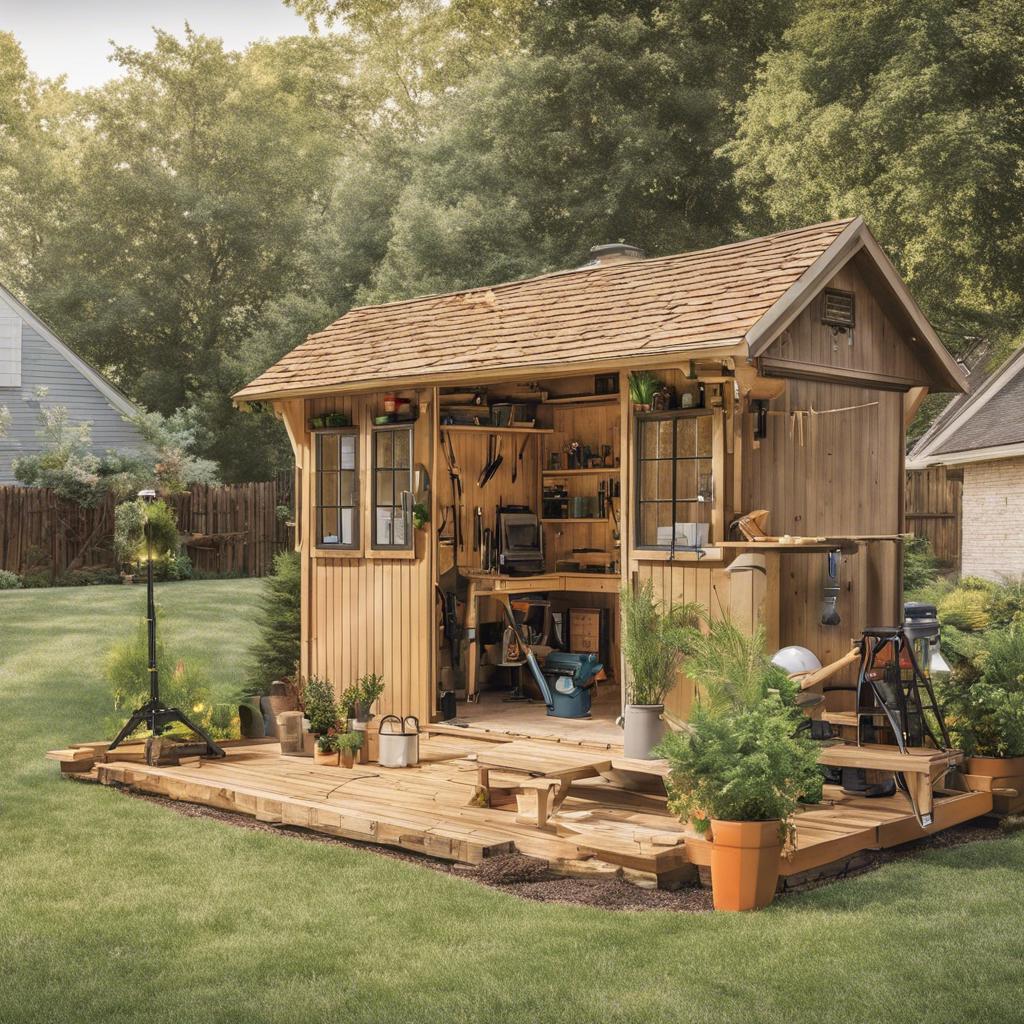
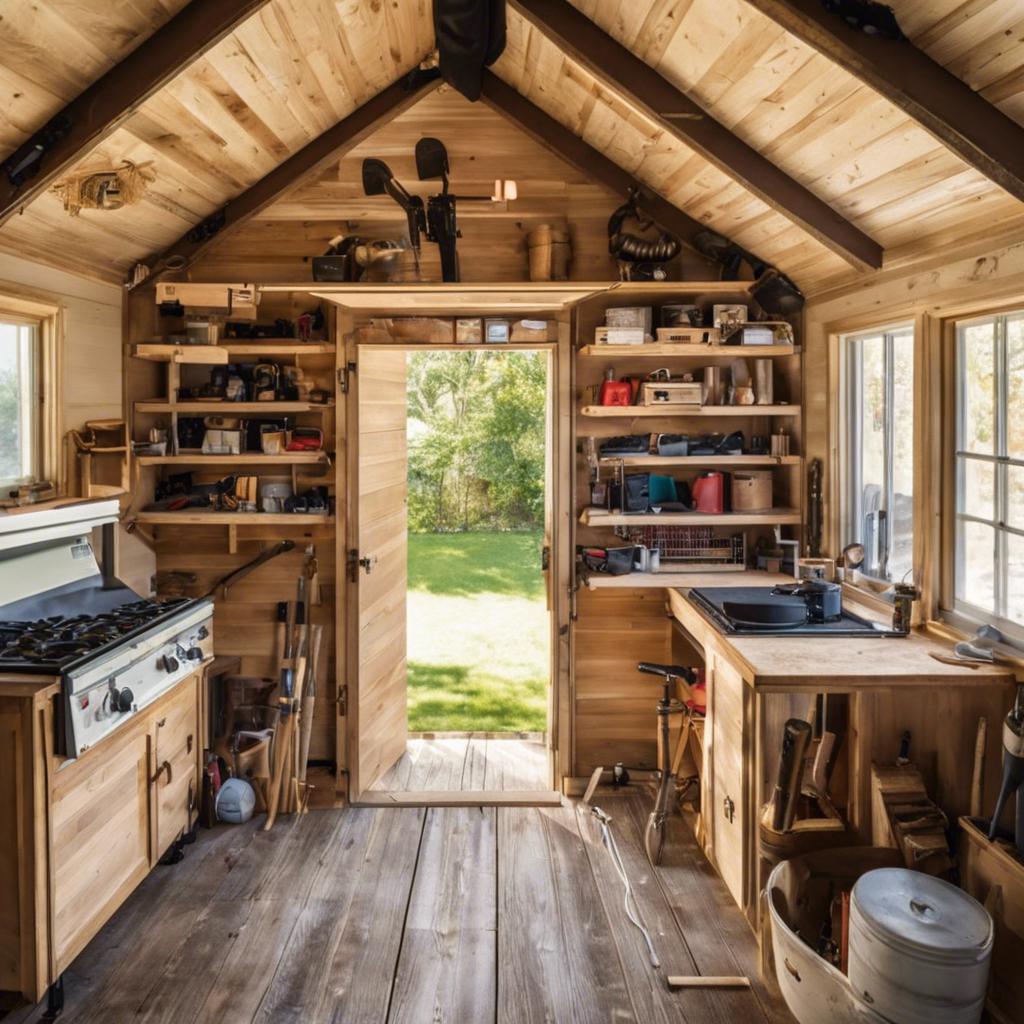
In order to create the perfect backyard woodworking shed, careful planning of the layout and design is essential. You want to make sure that the space is not only functional but also aesthetically pleasing. Consider the following tips to help you plan the layout and design of your woodworking hideaway:
Maximize Natural Light: When planning the layout of your woodworking shed, think about ways to incorporate natural light. This can help create a more inviting and inspiring workspace. Consider adding windows or skylights to allow sunlight to flood into the space. You can also strategically place your workbench and tools to take advantage of the natural light.
Organize Your Tools: A well-organized workspace is crucial for any woodworking shed. Make sure to plan for ample storage for your tools and materials. Consider installing wall-mounted shelves, pegboards, or drawers to keep everything neatly organized and easily accessible. Having a designated spot for each tool will not only make your workspace more efficient but also safer.
Create a Comfortable Work Environment: Lastly, don’t forget to consider the overall comfort of your woodworking shed. Think about things like ventilation, insulation, and heating/cooling options to ensure that you can work comfortably year-round. You may also want to add some personal touches, such as a cozy chair or inspirational artwork, to make the space feel like your own personal retreat. By carefully of your backyard woodworking shed, you can create a space that is not only functional but also a joy to spend time in.
Choosing the Right Location
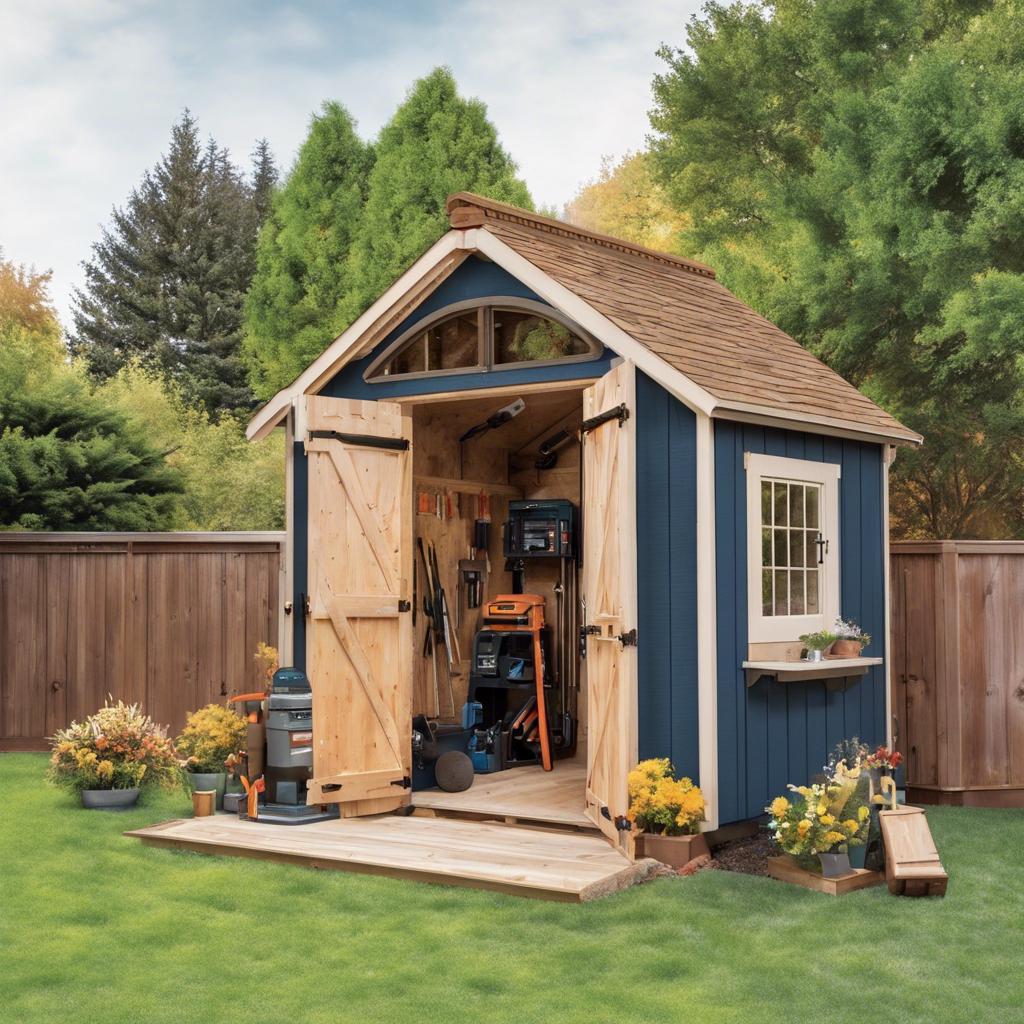
When it comes to building the perfect backyard woodworking shed, is key. You’ll want to find a spot that is not only convenient for accessing your tools and materials, but also provides a peaceful and inspiring environment for your woodworking projects. Consider the following factors when selecting the ideal location for your woodworking shed:
-
- Accessibility: Ensure that your shed is easily accessible from your house, as well as from any other areas of your yard where you may be working on projects. This will make it more convenient for you to transport materials and tools back and forth.
-
- Natural Light: Look for a location that receives plenty of natural light throughout the day. Good lighting is essential for woodworking, as it will help you see your work more clearly and avoid making mistakes.
-
- Peace and Quiet: Choose a spot that is away from noisy areas of your yard, such as roads or neighbor’s houses. A peaceful environment will help you concentrate on your projects and enjoy the process of woodworking.
Selecting the Best Materials
When it comes to building the perfect backyard woodworking shed, is crucial for creating a durable and functional space. Here are some tips to help you choose the right materials for your woodworking shed:
-
- Weather-resistant wood: Opt for materials that can withstand the elements, such as cedar or redwood. These types of wood are naturally resistant to decay and rot, making them ideal for outdoor structures.
-
- Durable roofing: Consider using metal roofing for its longevity and ability to protect your shed from rain and snow. Alternatively, asphalt shingles are a budget-friendly option that still offer good protection.
-
- Quality insulation: To ensure your woodworking shed stays comfortable year-round, invest in high-quality insulation. This will help regulate the temperature inside the shed and keep your tools and materials safe from extreme heat or cold.
| Materials | Advantages |
|---|---|
| Cedar | Naturally resistant to decay |
| Metal roofing | Durable and long-lasting |
| High-quality insulation | Regulates temperature |
Building a Solid Foundation
is essential when constructing your backyard woodworking shed. The base of your shed sets the tone for the entire structure, providing stability and longevity for your woodworking projects. To ensure a durable foundation, consider the following tips:
-
- Choose the right location: Select a flat area in your backyard that is free from any obstructions or slopes. This will help prevent any water drainage issues and ensure a level base for your shed.
-
- Prepare the ground: Clear away any rocks, roots, or debris from the area where you plan to build your shed. Use a hand tamper or plate compactor to compact the soil and create a firm foundation.
-
- Use quality materials: Invest in high-quality concrete or gravel to create a solid base for your shed. Consider using pressure-treated lumber for your foundation frame to prevent rot and decay over time.
For added inspiration, here is a simple yet effective HTML table showcasing the different types of foundations you can consider for your woodworking shed:
| Foundation Type | Description |
|---|---|
| Concrete Slab | Offers a permanent and stable base for your shed, ideal for heavy equipment. |
| Gravel Foundation | Provides good drainage and can be easily adjusted for level installation. |
| Wood Skid | Allows for easy relocation of your shed, but may require more maintenance. |
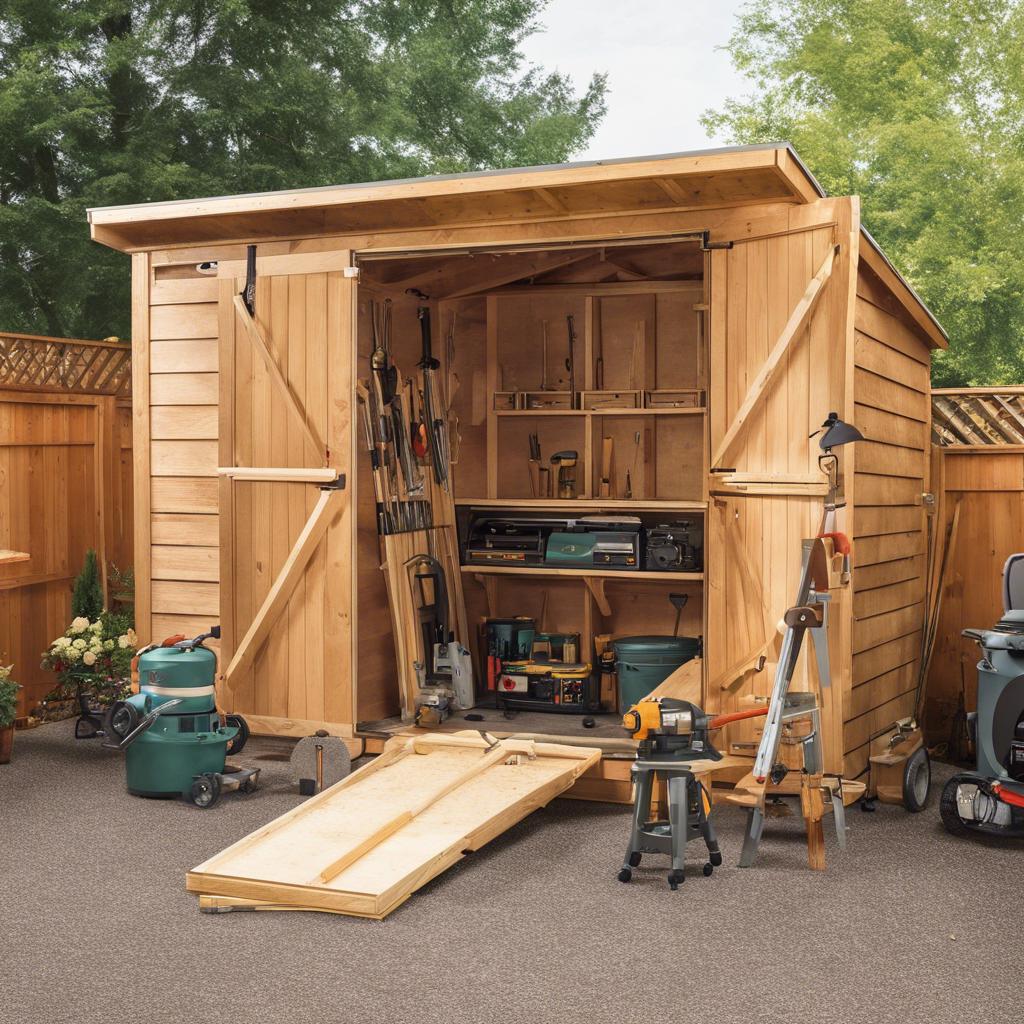
Constructing the Frame and Roof
In this section, we will discuss the essential steps for of your backyard woodworking shed. Investing time and effort in ensuring a sturdy frame and a durable roof is crucial for the longevity and functionality of your woodworking hideaway. Follow these guidelines to achieve the perfect structure for your shed:
Constructing the Frame:
-
- Begin by laying out the foundation and marking the corners of your shed.
-
- Use pressure-treated lumber for the frame to prevent rot and decay.
-
- Secure the frame with galvanized screws or nails for added stability.
-
- Consider adding cross-bracing for extra support.
Building the Roof:
-
- Choose the appropriate roofing material based on your climate and budget.
-
- Install roof trusses for added strength and support.
-
- Ensure proper ventilation to prevent moisture buildup.
-
- Consider adding gutters to redirect water away from the shed.
Finishing Touches:
-
- Add fascia boards to give your shed a polished look.
-
- Seal all seams and joints to prevent leaks.
-
- Apply a weatherproof coating to protect the wood from the elements.
-
- Congratulations on completing the frame and roof of your woodworking shed! Next, we will dive into the interior design and organization of your Carpenter’s Hideaway.
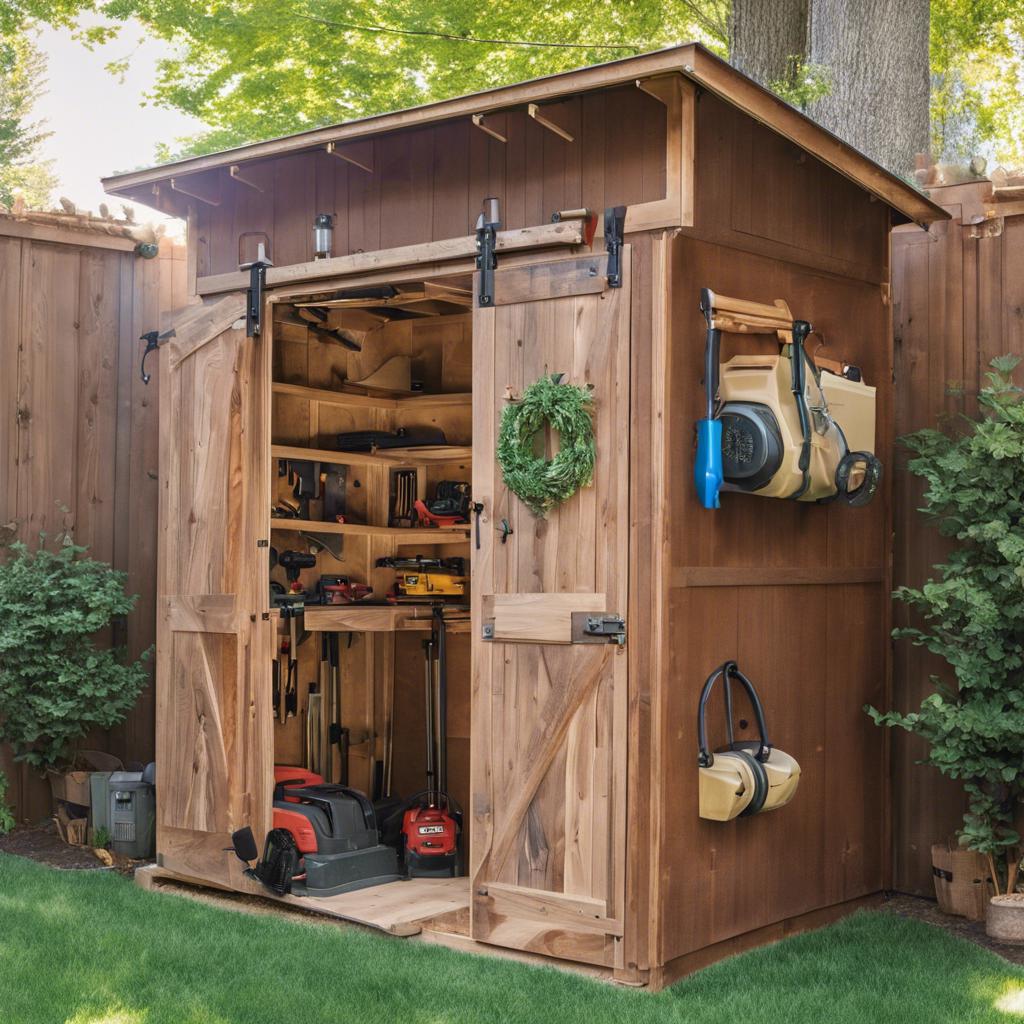
Installing Windows and Doors
When it comes to in your backyard woodworking shed, there are a few key things to keep in mind to ensure a seamless and professional finish. One of the first steps is to carefully measure the openings where the windows and doors will be installed. This will help you choose the right size and style to fit perfectly.
Next, consider the material of the windows and doors. For a traditional and rustic look, wooden windows and doors can add charm to your woodworking shed. Alternatively, if you prefer a more modern and sleek aesthetic, aluminum or vinyl windows and doors might be a better fit. Make sure to also consider the insulation properties of the materials to keep your shed comfortable in all seasons.
Lastly, don’t forget about the hardware and finishing touches. Invest in quality hinges, handles, and locks to ensure your windows and doors operate smoothly and securely. Consider adding decorative elements like window grids or unique door handles to personalize your woodworking shed. With attention to detail and careful planning, your backyard hideaway will be the envy of all your woodworking projects.
Equipping Your Shed with Essential Tools

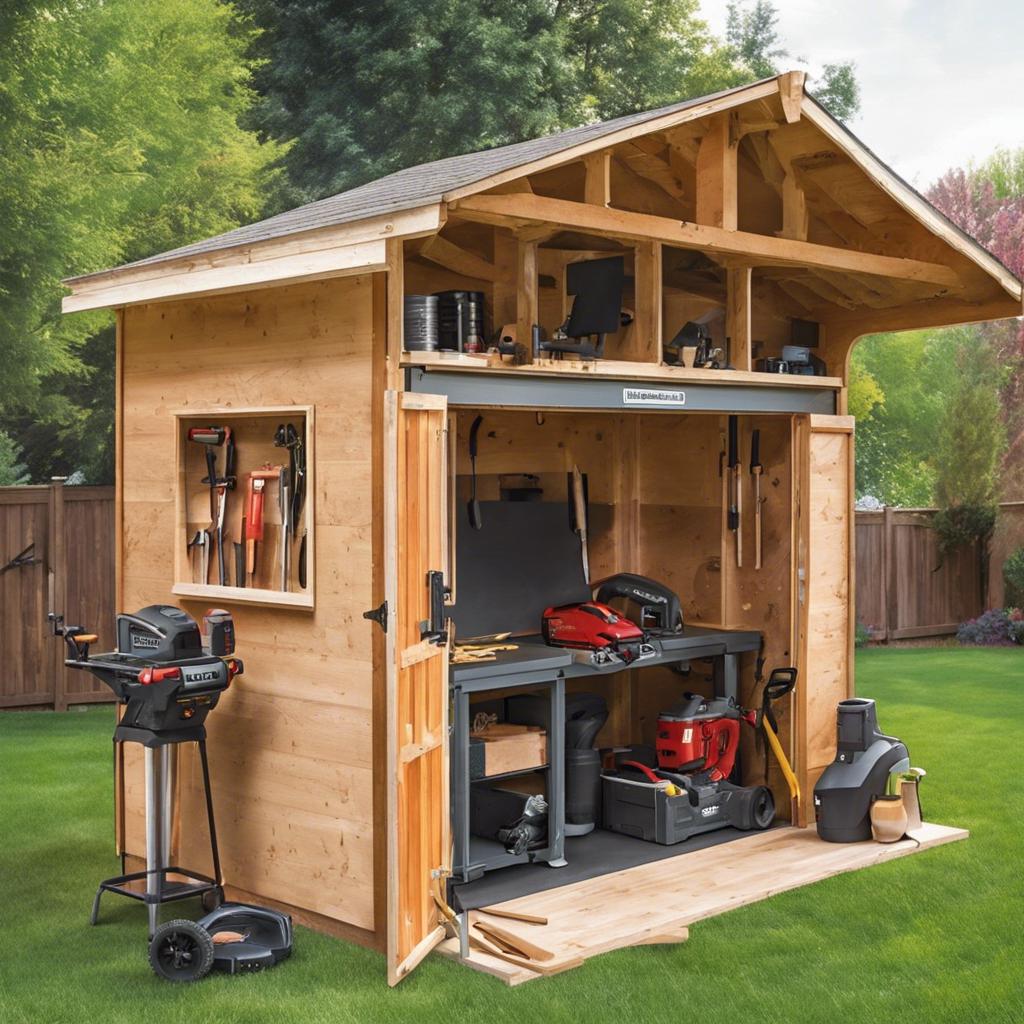
When setting up your woodworking shed, it’s crucial to have the right tools on hand to tackle any project that comes your way. Having a well-equipped shed not only saves you time but also allows you to work more efficiently and produce high-quality results. Here are some essential tools you should consider adding to your carpenter’s hideaway:
Power Tools:
-
- Table Saw
-
- Compound Miter Saw
-
- Router
-
- Drill Press
Hand Tools:
-
- Chisels
-
- Hand Planes
-
- Clamps
-
- Marking and Measuring Tools
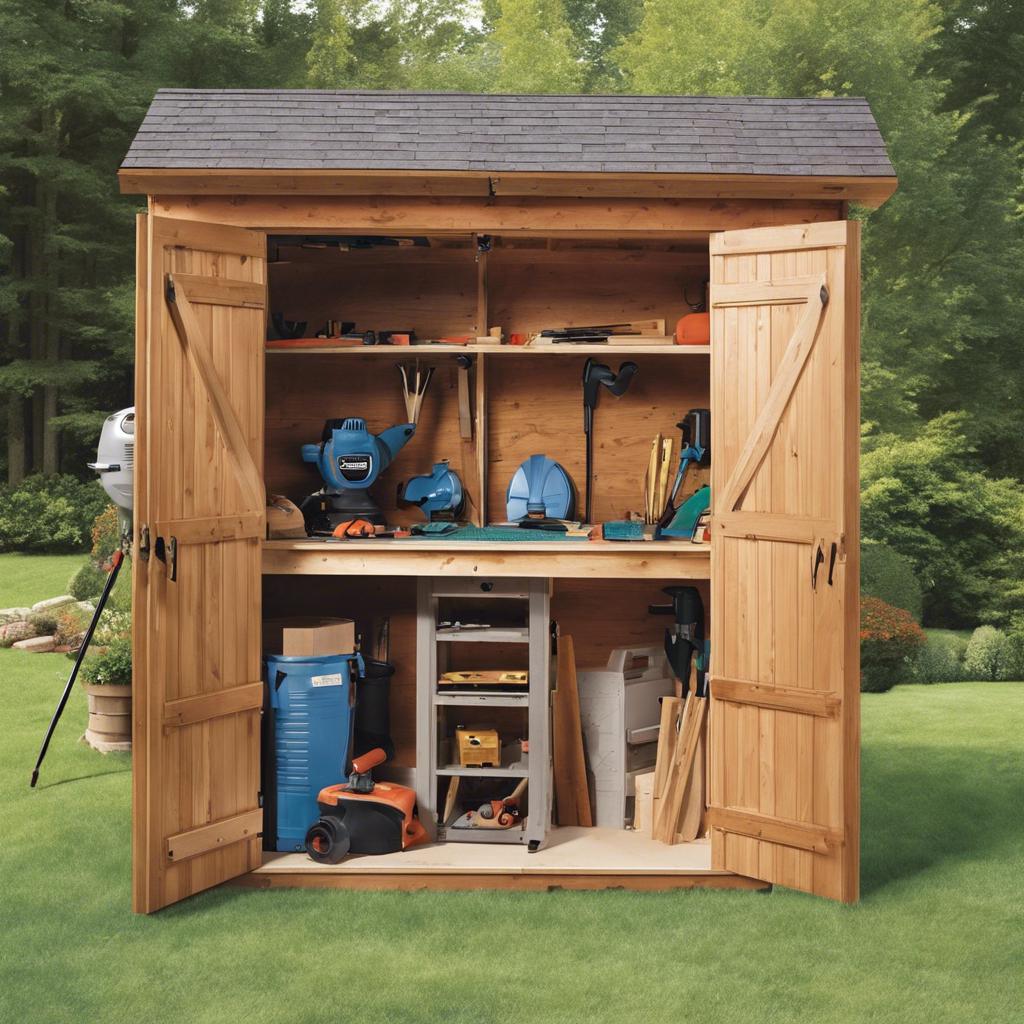
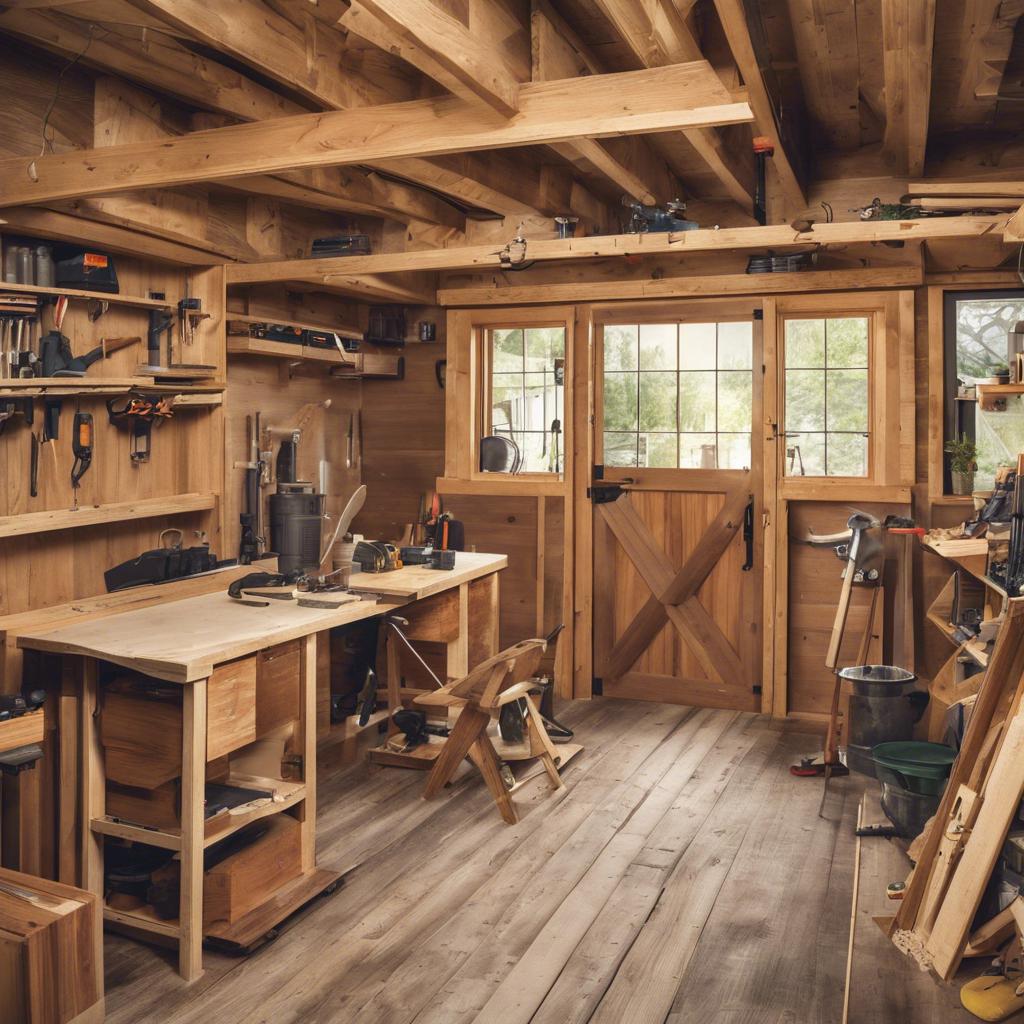
Organizing Your Workspace Efficiently
One key aspect of setting up the perfect backyard woodworking shed is . By having a well-structured and clutter-free area, you can maximize productivity and creativity. Here are some tips on how to achieve an organized workspace:
-
- Utilize wall space: Hang shelves, pegboards, or tool racks on the walls to store your tools and supplies. This not only keeps them easily accessible but also frees up valuable floor space for your projects.
-
- Divide your workspace: Create different zones for cutting, sanding, assembly, and storage within your shed. This helps streamline your workflow and makes it easier to find what you need when working on a project.
-
- Invest in storage solutions: Consider adding cabinets, drawers, bins, or tool chests to keep your tools organized and protected. Labeling each storage container can help you quickly locate items, saving you time and frustration.
In addition to these tips, incorporating a workbench with built-in storage and a dust collection system can further enhance the efficiency of your woodworking shed. By implementing these organizational strategies, you can create a functional and inspiring space for all your woodworking projects.
Adding Personal Touches and Decor
When it comes to building the perfect backyard woodworking shed, can really make the space feel like your own. Consider incorporating some of the following ideas to create a cozy and inviting atmosphere in your hideaway:
-
- Rustic Signs: Hang up handmade wooden signs with inspirational quotes or phrases that resonate with you.
-
- Vintage Tools: Display vintage woodworking tools on the walls or shelves as a nod to the history of carpentry.
-
- Cozy Seating: Add a comfortable chair or bench for relaxation during breaks in your woodworking projects.
-
- Natural Elements: Bring the outdoors in with potted plants, a small indoor herb garden, or a succulent arrangement.
Another way to add a personal touch to your woodworking shed is by customizing the decor to reflect your own style and interests. Consider painting the walls in your favorite color, hanging up photos of past woodworking projects, or incorporating unique elements that speak to your personality. The key is to make the space feel like a reflection of you and your passion for woodworking.
| Personal Touch: | Add a handmade wooden sign with your name or initials to the entrance of the shed. |
| Decor Idea: | Hang up a vintage saw blade as wall art for a touch of rustic charm. |
| DIY Project: | Create a gallery wall of your favorite woodworking tools mounted on wooden plaques. |
Maintaining Your Woodworking Shed
When it comes to , there are a few key things to keep in mind to ensure that your space remains a functional and enjoyable place to work. Here are some tips to help you keep your woodworking shed in top shape:
Regular Cleaning: It’s important to regularly clean your woodworking shed to remove dust, debris, and wood shavings that can accumulate over time. This will not only make your workspace more pleasant to be in but also help prevent potential hazards such as fire hazards or tripping hazards.
Organize Your Tools: Keeping your tools organized and easily accessible will not only save you time when working on projects but also help prevent accidents. Consider installing shelves, pegboards, or tool chests to keep your tools neat and tidy.
Q&A
Q: What inspired the creation of the Carpenter’s Hideaway?
A: The Carpenter’s Hideaway was born out of a desire to provide woodworkers with a dedicated space to hone their craft and unleash their creativity in the comfort of their own backyard.
Q: What makes the perfect backyard woodworking shed?
A: The perfect backyard woodworking shed combines functionality with aesthetics, providing ample space for tools and materials while also being a visually appealing addition to your outdoor space.
Q: What are some essential features of the Carpenter’s Hideaway?
A: Some essential features of the Carpenter’s Hideaway include sturdy construction, ample natural light, well-organized storage solutions, and a comfortable workbench to tackle any woodworking project.
Q: What are the benefits of having a backyard woodworking shed like the Carpenter’s Hideaway?
A: Having a backyard woodworking shed like the Carpenter’s Hideaway allows woodworkers to have a dedicated space to work on their projects without distractions, as well as providing a sanctuary to escape to and unwind.
Q: How can one go about building their own Carpenter’s Hideaway?
A: Building your own Carpenter’s Hideaway requires careful planning, sourcing quality materials, and following a detailed construction plan. It’s a rewarding project that can be customized to suit your individual needs and preferences.