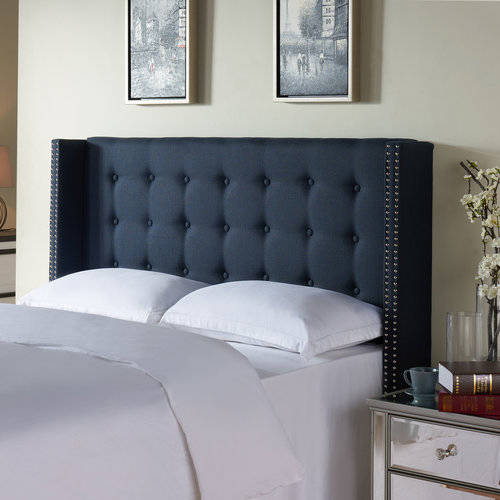
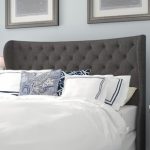
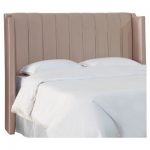
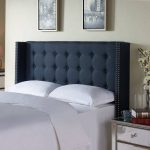
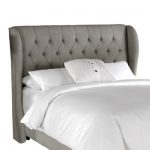
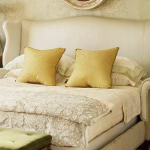
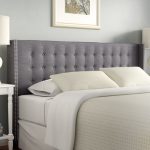
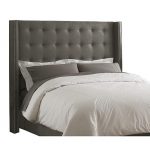
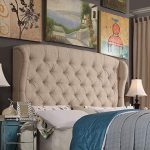
If you’re looking to make a bold statement in your bedroom, a wingback headboard is the perfect choice. This classic design adds instant elegance and sophistication to any sleeping space. While wingback headboards can be purchased from furniture stores, creating one yourself allows you to customize it to your personal style and specifications. Here’s how you can create a stunning wingback headboard that will surely be the focal point of your bedroom.
To begin, you will need the following materials: plywood or MDF board, foam padding, fabric of your choice, buttons, nails, screws, a saw, a drill, a staple gun, and a hammer. Start by measuring the dimensions of your bed frame to determine the size of the headboard. Use the saw to cut the plywood or MDF board to the desired width and height.
Next, you will need to create the wingback shape. Mark the curve for the wings on the top corners of the headboard and use the saw to cut along these lines. You can also create a gentle curve along the top of the headboard for added elegance. Once the shape is cut, sand the edges to smooth them out.
After the shape is complete, attach the foam padding to the front of the headboard using the staple gun. Be sure to cover the entire front surface, including the wings, to ensure a comfortable and plush finish. Once the padding is secured, cover the entire headboard with the fabric of your choice, using the staple gun to attach it to the back of the headboard.
To create the signature tufted look of a wingback headboard, use the buttons to create tufts in the fabric. Thread a button through a nail and hammer it into the back of the headboard, pulling the fabric tight to create the tufted effect. Repeat this process until you have tufted the entire headboard to your liking.
Finally, attach the completed headboard to your bed frame using screws and nails to secure it in place. Stand back and admire your handiwork – you now have a stunning wingback headboard that will elevate the style of your bedroom.
Creating a wingback headboard is a rewarding DIY project that can transform the look of your bedroom. With the right materials and a little creativity, you can create a statement piece that will impress anyone who enters your sleeping space. So roll up your sleeves, gather your materials, and get ready to create a headboard that will make a lasting impression.
 redboth.com Decoration ideas for your home
